If you want to use the same certificate on different Exchange servers, you can do so using the export/import process. After completing the certificate request on the server where the request was initially generated, you will see the option to export this certificate and then import it to other servers.
Export
Before exporting the certificate, be sure it's already installed on the initial server.
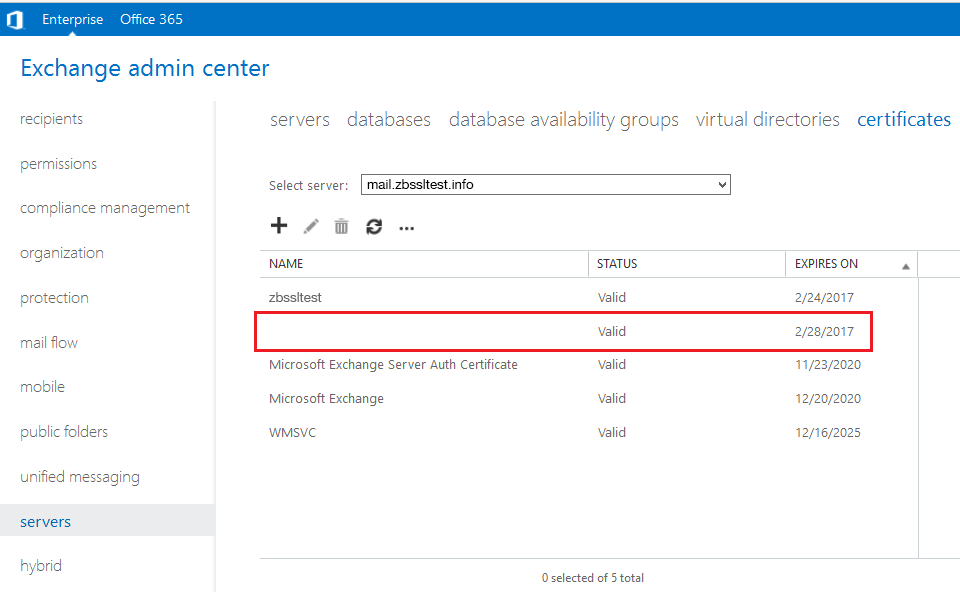
1) Navigate to Servers > Certificates, then choose the server that has the certificate already installed.
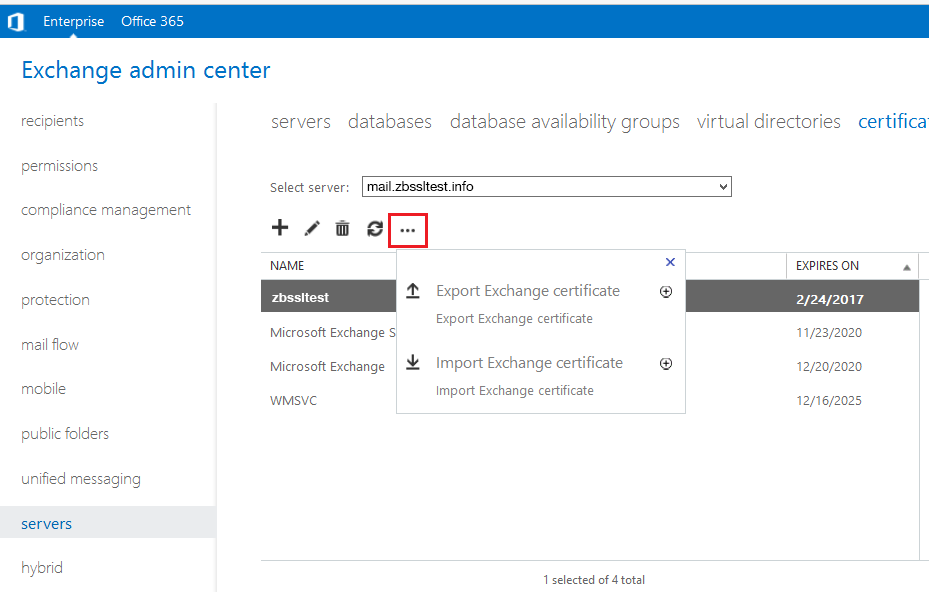
2) Highlight the certificate to be exported and click on '...' (more) icon and select 'Export Exchange Certificate'.
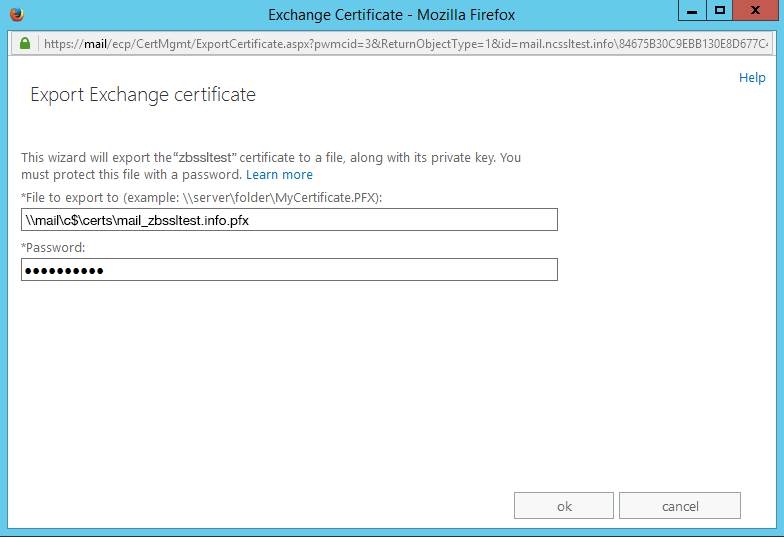
3) Enter a valid path and name of the file you wish to export the certificate to, as well as the password for the exported certificate. The file extension should be .pfx as this certificate format includes the end-entity certificate itself, the private key, and the CA Bundle.
Important Note: Be sure to remember this password since you will need it to import or convert the certificate into other formats. If this password is lost or forgotten, it cannot be recovered.
Import
1) To import the certificate click on the same '...' (more) button and select 'Import Exchange Certificate'. In this step, it does not matter which server is selected from the drop-down menu as you will specify it later.
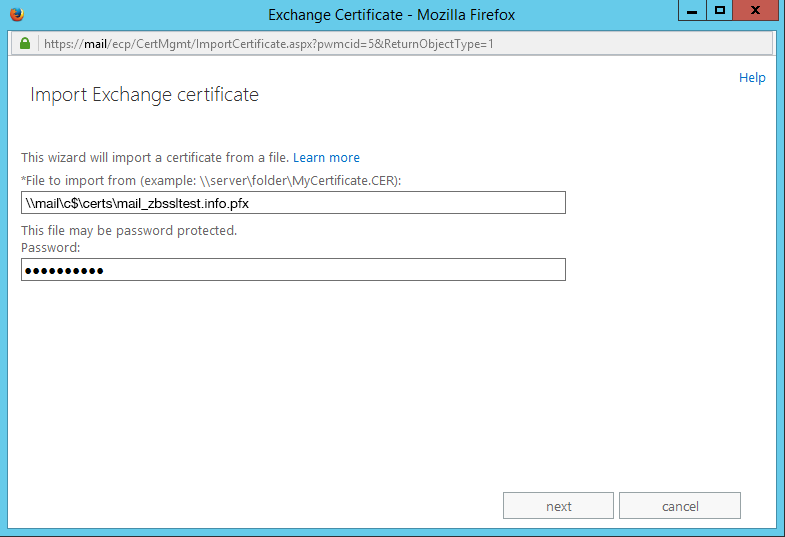
2) Enter the path to the .pfx file you have saved on your computer and the same password you used during export.
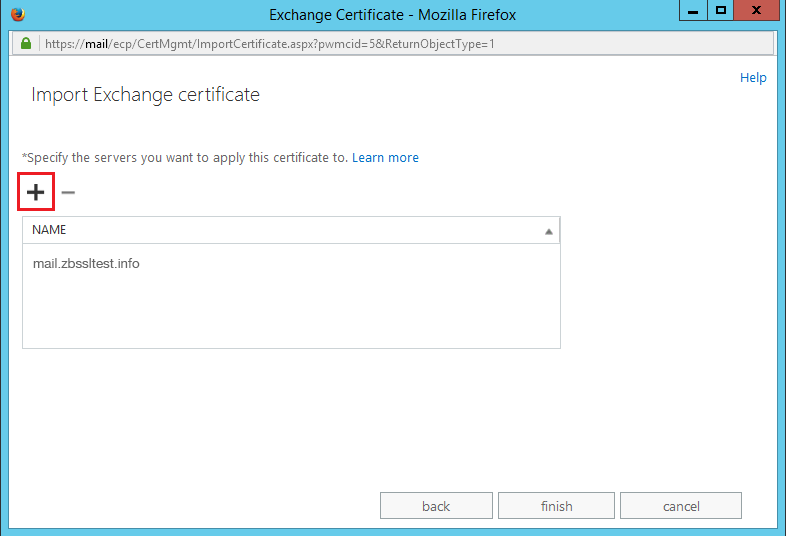
3) On the next step click the '+' button and select the server you want to install the certificate on. Click Finish.
4) The imported file will be present in the Certificates menu (the Friendly name field will be blank). After the certificate is imported to the necessary server, you can proceed with assigning it to the Exchange services.