This tutorial will show you how to set email account in Mail application on macOS Sierra using IMAP for incoming and SMTP for outgoing mail.
There are two possible options for incoming mail, and this article covers just one of them: POP3. POP3 will download emails from Inbox folder to this device only, while IMAP protocol will allow syncing emails in various folders between a number of devices. IMAP is recommended. We will use test email account zbtest@zbtest.tube.
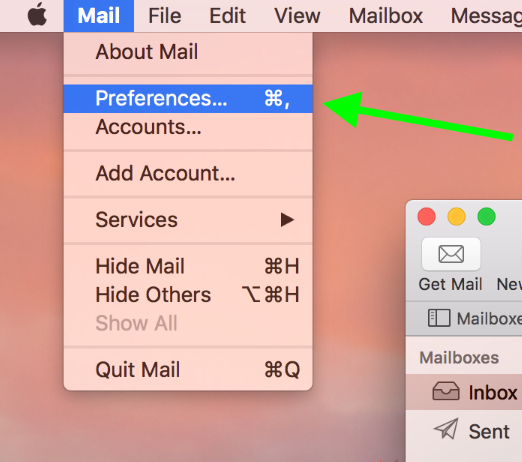
1. In case you already have some account set up in your Mail - select Preferences in Mail menu (you can use shortcut CMD![]() + , while Mail is opened on the screen):
+ , while Mail is opened on the screen):
2. Go to Accounts tab, and click on + icon:

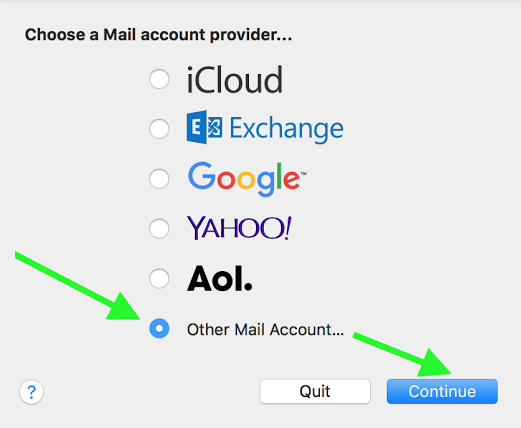
If it is the first time you use Mail, you will see the pop-up where you can add the email account. Select Other Mail Account... option and hit Continue button:
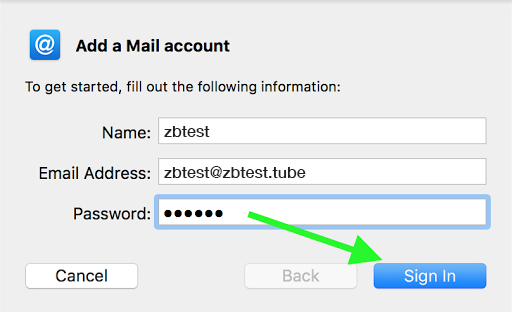
3. In Add a Mail Account window enter your full name, email address and email account password, then click on Sign In:
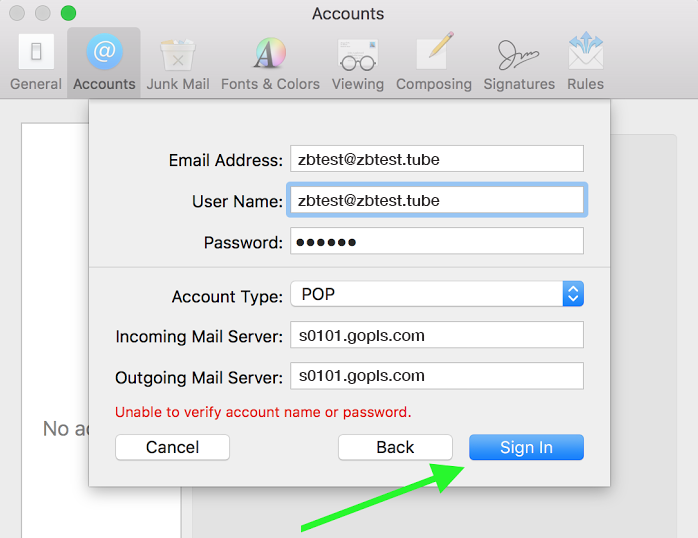
4. Application will try to detect settings automatically. Disregard the result and fill in these boxes manually. Enter your account details:
Email address: full email address
Username: full email address
Password: password for your email account
Account type: POP
Incoming Mail Server: server your account is hosted on
Outgoing Mail Server: server your account is hosted on
Click on Sign In once the details are filled:
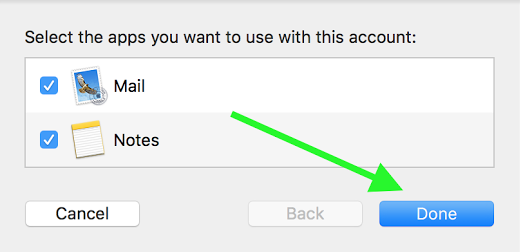
5. You may use both Mail and Notes here. Click Done button in order to finish account adding to Mail app:
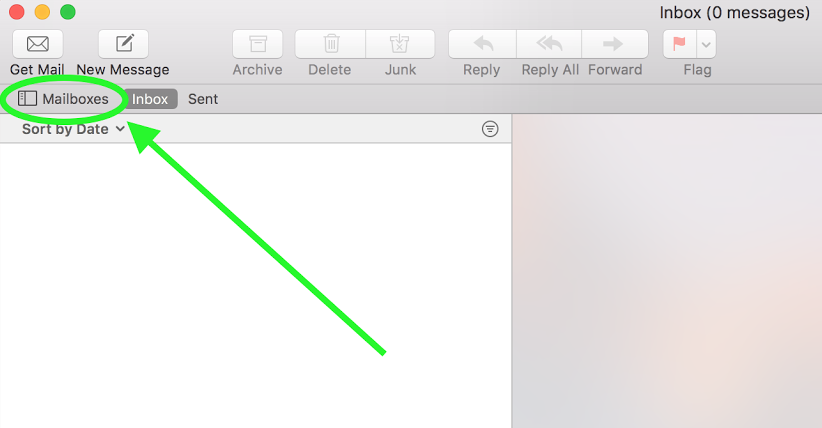
6. Once you click Done button, you will see the blank window without mailboxes. In order to open the mailboxes tree you need to click on Mailboxes button here:
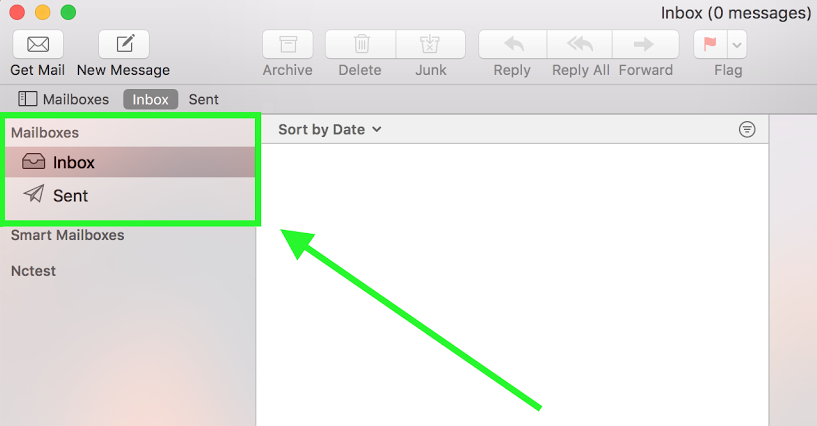
Now you will find your Inbox and Sent folders in the left sidebar:
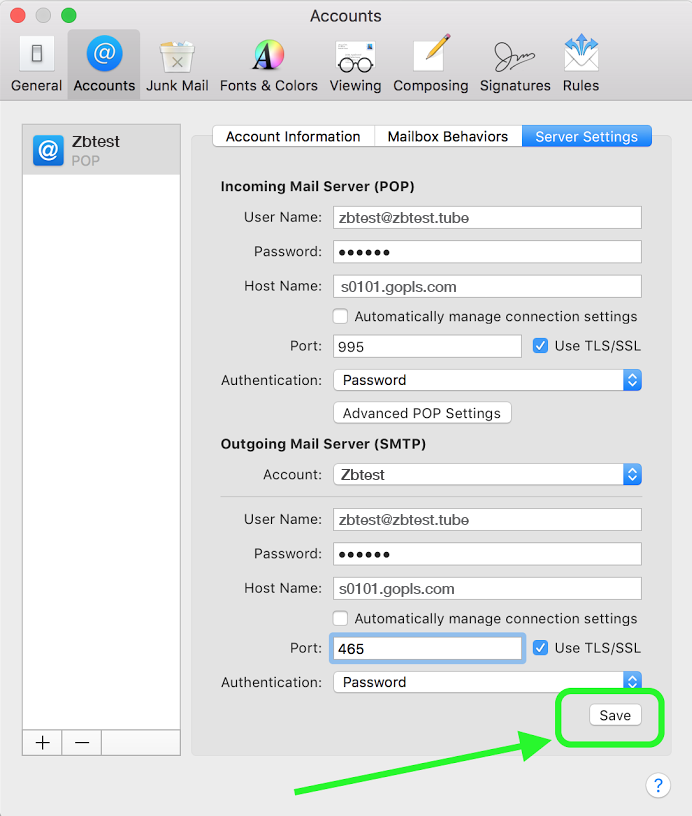
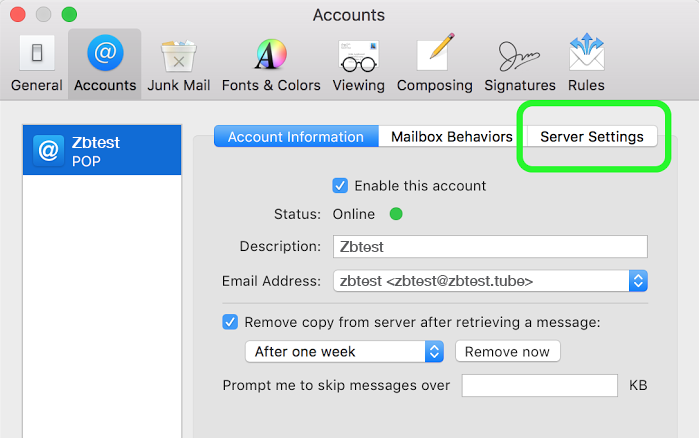
7. The next step is to verify that Incoming and Outgoing Mail Server settings are correct. While on Accounts tab of Preferences window click on Server Settings section:
7.1 On the Server Settings tab make sure that Automatically manage connection settings is unchecked at the Incoming Mail Server (POP) section so that you can see the following menu with Port and Authentication fields:
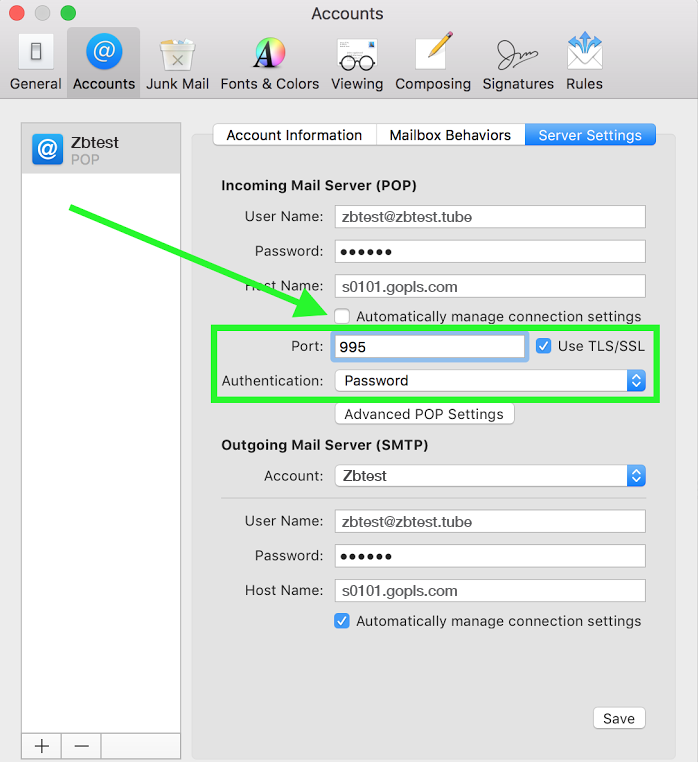
Port: 995 for SSL or 110 for TLS
Use TLS/SSL: should be enabled
Authentication: set to Password
Then open Advanced POP Settings:
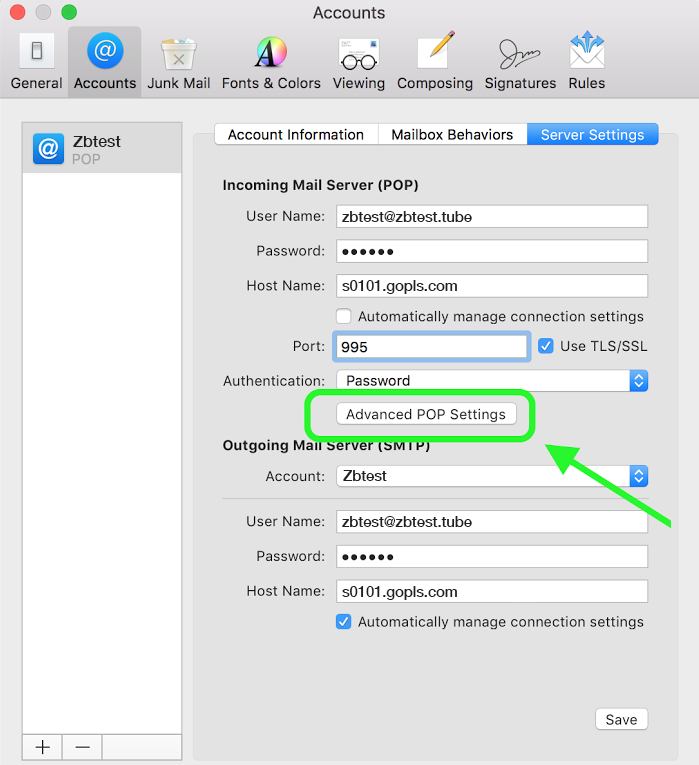
Check Allow insecure authentication and click OK:

7.2 On the Server Settings tab make sure that Automatically manage connection settings is unchecked at the Outgoing Mail Server (SMTP) section so that you can see the following menu with Port and Authentication fields:

Port: 465 for SSL, 25 or 587 for TLS
Use TLS/SSL: should be enabled
Authentication: set to Password
8. Once everything is done, click Save and feel free to start using Mail application on your macOS: