
Once you've downloaded and installed FileZilla, launch the program. There are two possible ways to connect - using Site Manager or Quickconnect option.
In order to use Site Manager menu, follow these steps:
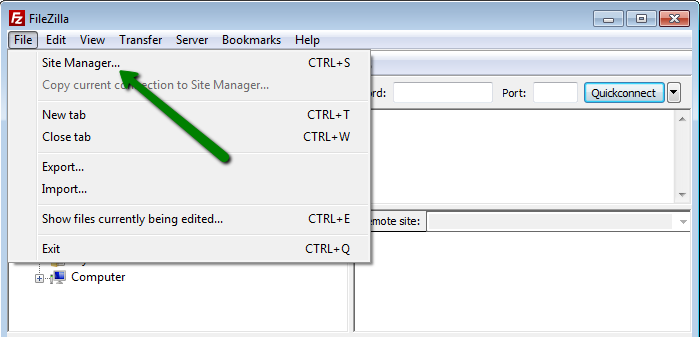
Navigate to the File tab > Site Manager menu:
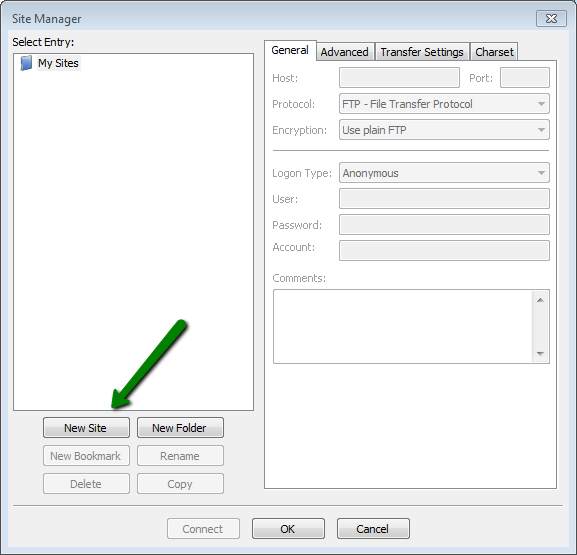
Click on New Site to configure a new connection:
Alternative FTPES settings are:
Host: server your account is hosted on
Port: 21
Protocol: FTP
Encryption: Require explicit FTP over TLS
Logon Type: Normal
User: your username or full FTP account username, like user@domain.com
Password: your password or FTP account password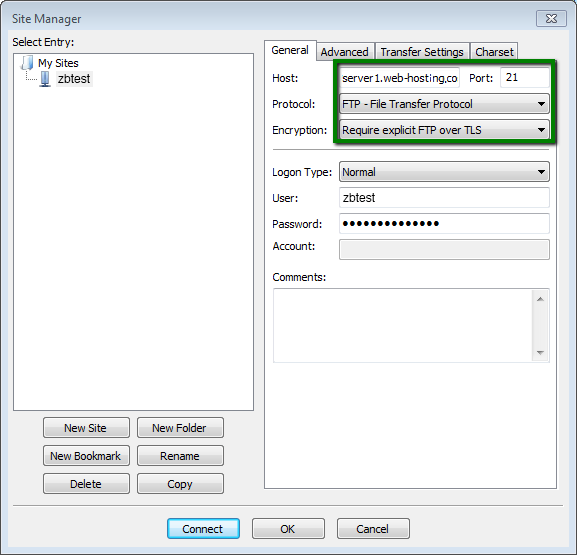
Once the basic settings are configured, switch to the tab Transfer Settings.
Make sure that:
Transfer mode: set to Passive
Limit number of simultaneous connections: checked
Maximum number of connections: set to 1
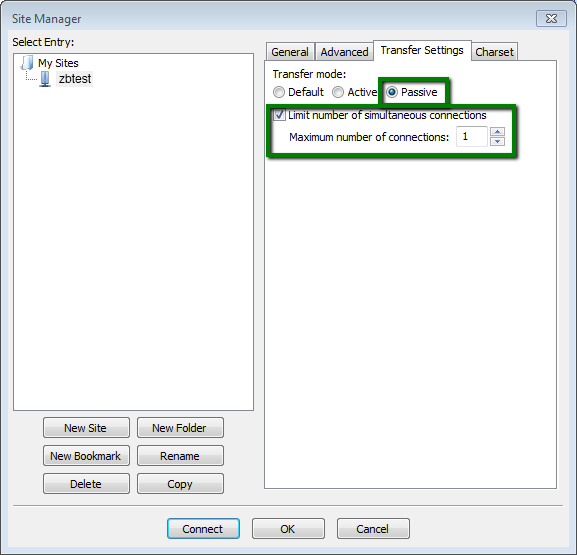
Once done, click on Connect and feel free to upload your website files.
If you wish to use Quickconnect option, follow these settings:
Alternative FTPES settings are:
Host: ftpes://server your account is hosted on
Username: your username or full FTP account username, like user@domain.com
Password: your password or FTP account password
Port: 21
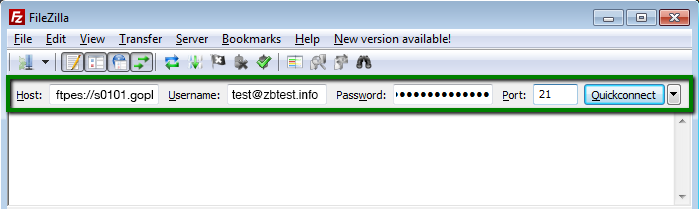
Hit Quickconnect button to initiate the connection.
After that you are ready to upload your website files.
In order to upload content for your domain, you need to move to its root folder. If it is the main domain for your account, go to /home/user/public_html directory:
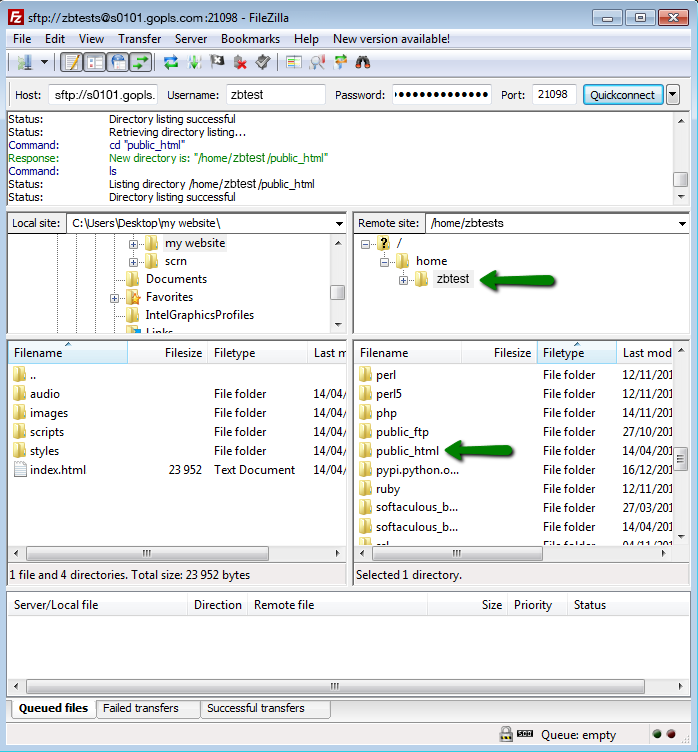
Addon domain's root folder can usually be found in/home/user/addondomain.com or /home/user/public_html/addondomain.com directory.
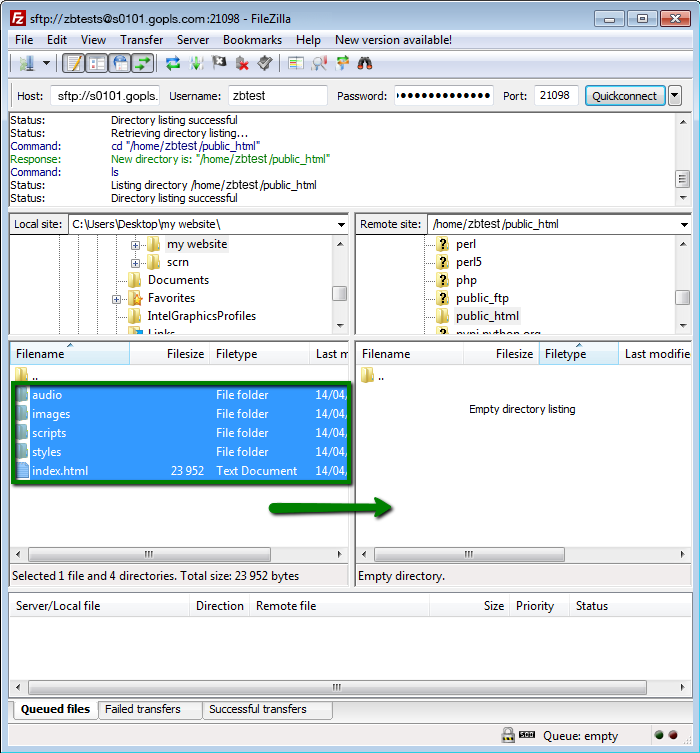
Once you are in a right place, choose your website files from the left column, your local device, and simply drag and drop them to the right column, your cPanel File manager:

How to setup FileZilla
- Hosting
- Updated 21 Jan 2019