
Once you receive the validated certificate from the Certificate Authority, your next step should be installation on the server in which you have domain name hosted.
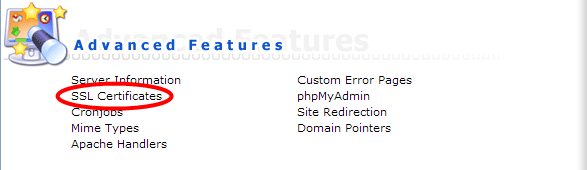
For this you need to go to the 'SSL Certificates' option within the 'Advanced Features' section
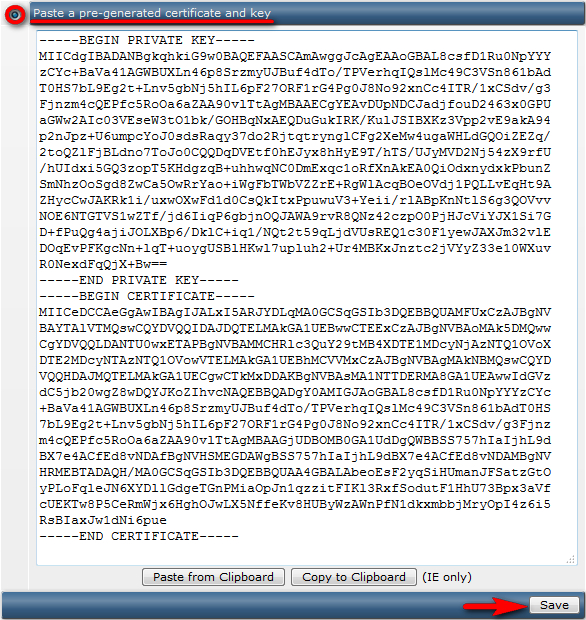
After that, choose 'Paste a pre-generated certificate and key' and paste your Private Key file along with the Validated Certificate file. We recommend you open this in advance using Notepad or any other Text Editor. When entering these details, begin with the Private Key followed by the SSL Certificate (see example below). Once both codes are entered, click on the 'Save' button.
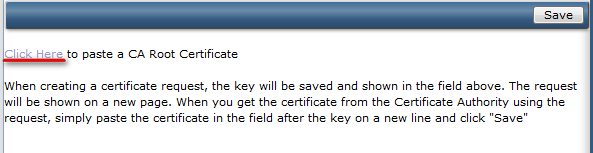
The CA Certificate (CA Bundle) should be installed afterwards. You will need to return to the 'SSL Certificates' panel and click on the link Click here to paste a Root CA Certificate.
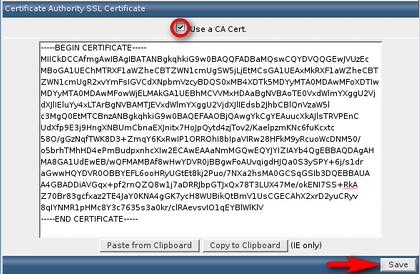
Copy the chain of intermediate certificates and paste it to the box, tick 'Use a CA Cert' checkbox and click on the 'Save' button.
Check that the SSL is enabled for the website at the top of the SSL Certificates menu.

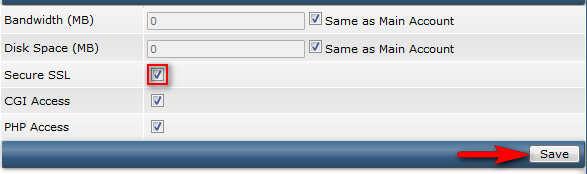
If SSL support is disabled, click on the link 'You can enable it here', check Secure SSL option and press on the 'Save' button.
That's all, your certificate is installed and you can access your web site via https:// protocol.
Installing a SSL Certificate using Directadmin
- SSL Certificates
- Updated 29 Jan 2019