
在您從證書頒發機構收到簽發的證書或從ZTABOX電子郵件下載它後,找到文件yourdomain_com.cer或yourdomain_com.p7b,然後按照以下安裝步驟操作(可能需要解壓縮檔案):
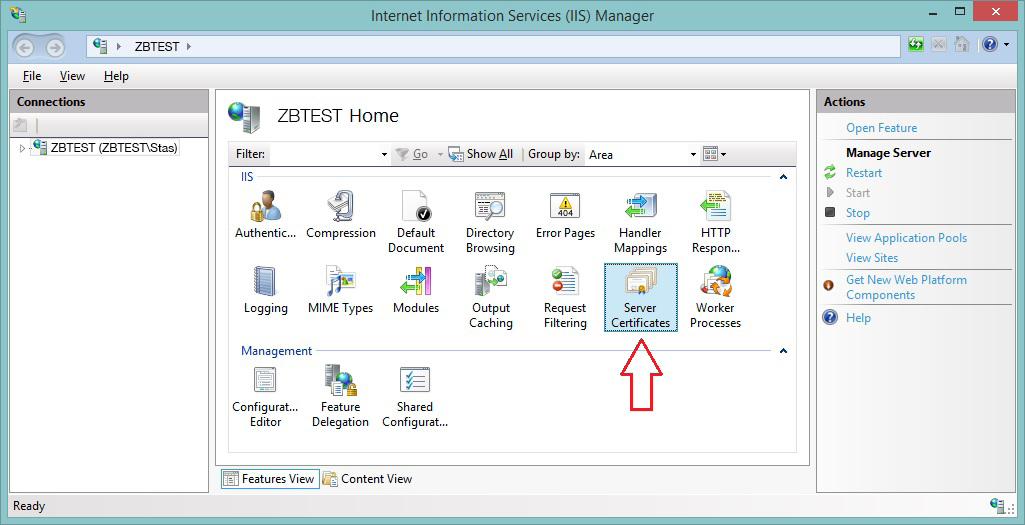
- 通過按下Win+R並輸入'inetmgr'來啟動Internet Information Services (IIS) Manager,然後按Enter。
- 在主頁上雙擊伺服器證書圖標。
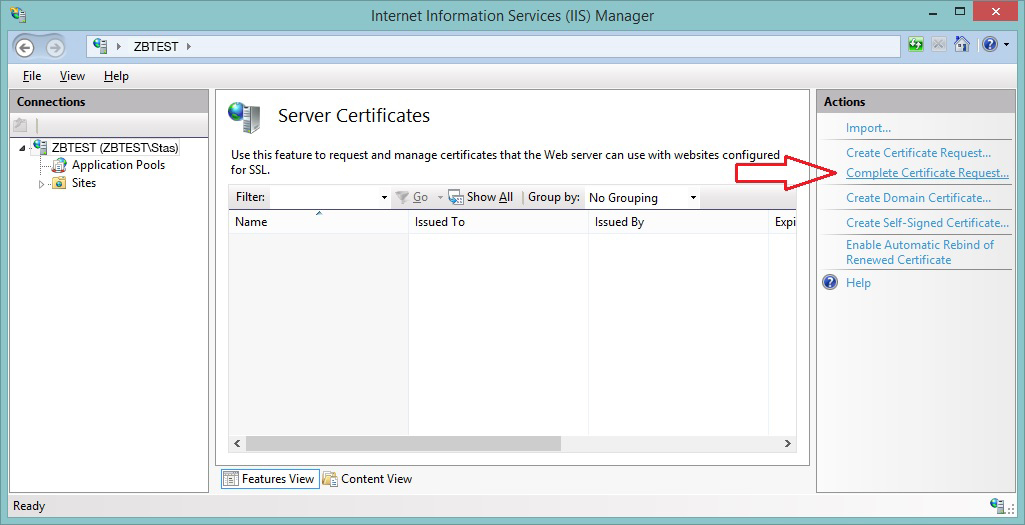
- 將鼠標懸停在窗口右側的操作面板上,然後單擊'完成證書請求...'按鈕。
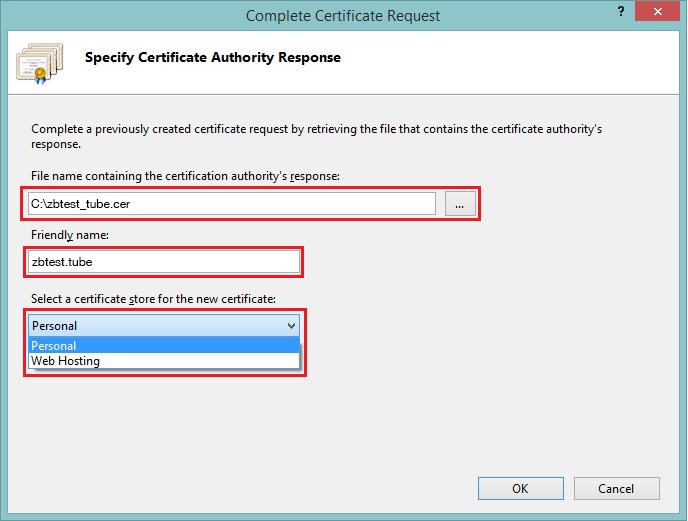
- 下一個屏幕指定證書頒發機構的回應包含3個字段可供修改:
- 包含證書頒發機構回應的文件名 - 瀏覽文件系統以找到您從證書頒發機構收到的證書文件。通常,其名稱類似於此示例:yourdomainname_com.cer
- 友好名稱 - 此字段幫助伺服器管理員輕鬆找到特定的證書。例如,可以在此字段中指定證書的域名。
- 為新證書選擇證書存儲 - 從下拉菜單中選擇個人。
- 當所有字段設置正確後,單擊OK按鈕。
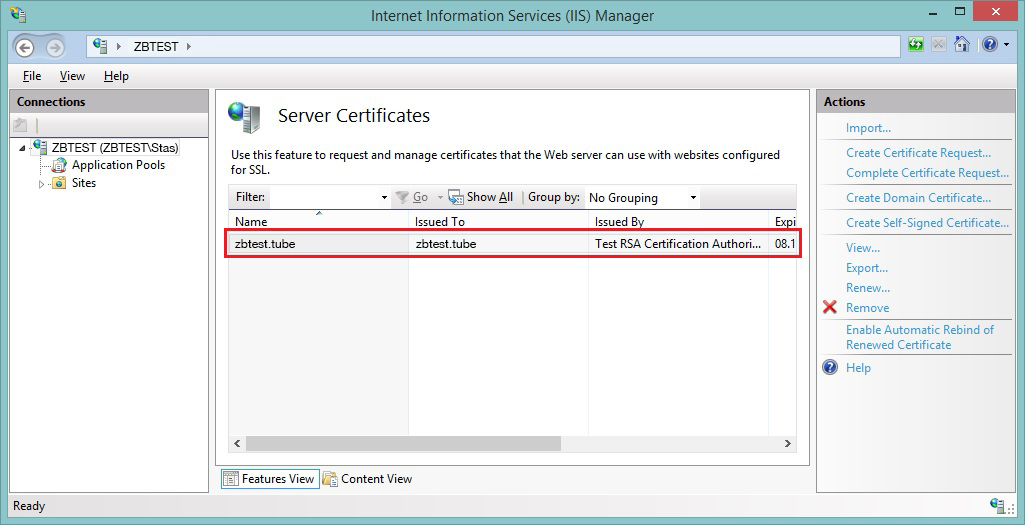
- 證書已上傳到伺服器,現在應該出現在存儲中。
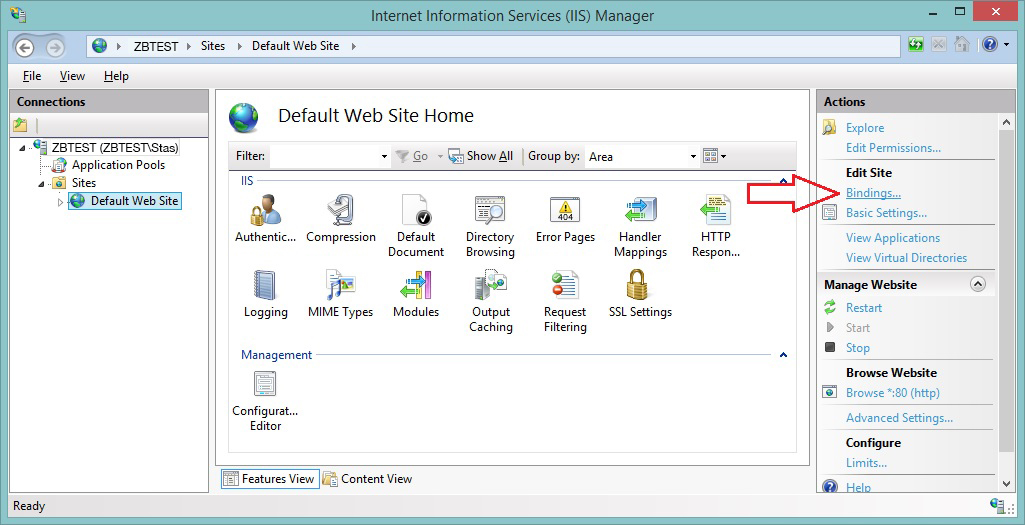
- 下一步是創建綁定,允許通過HTTPS訪問網站。
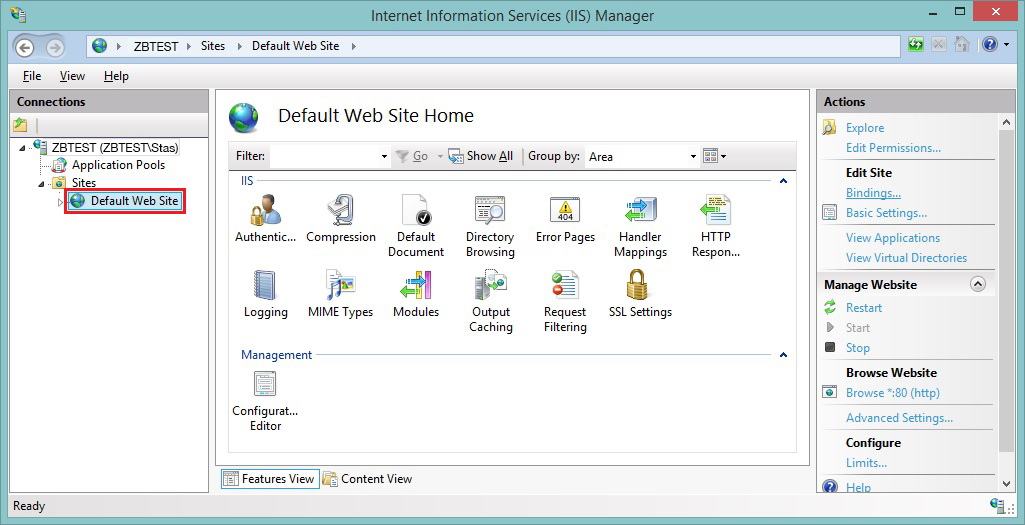
- 將鼠標懸停在IIS Manager左側的連接面板,並從網站子文件夾中選擇一個網站。
- 導航回窗口右側的操作面板,然後單擊綁定按鈕。
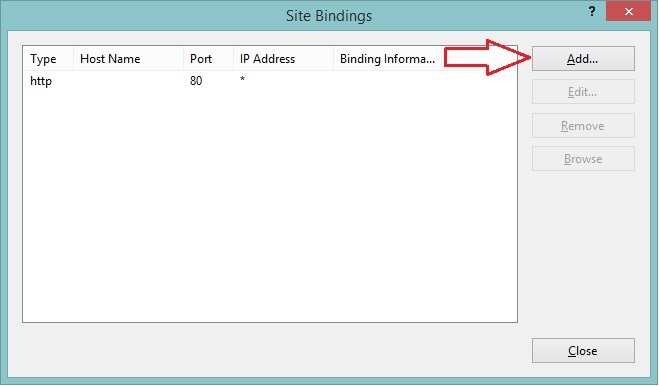
- 在網站綁定屏幕上單擊添加...按鈕。
- 在添加網站綁定窗口中修改以下字段:
- 類型 - 從下拉菜單中選擇'https';
- IP地址 - 選擇IP地址或'所有未分配';
- 端口 - 指定安全連接的端口號。默認端口號是443;
- SSL證書 - 通過先前指定的友好名稱選擇相應的證書。
- 當字段設置完畢後,單擊OK按鈕。
- 結果是,在網站綁定對話框中應出現新的記錄。
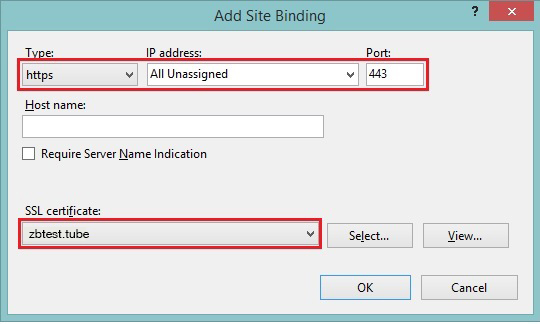
注意:強烈建議勾選“需要伺服器名稱指示”選項,這有助於確保證書正確顯示,特別是在伺服器上存在多個證書的情況下。
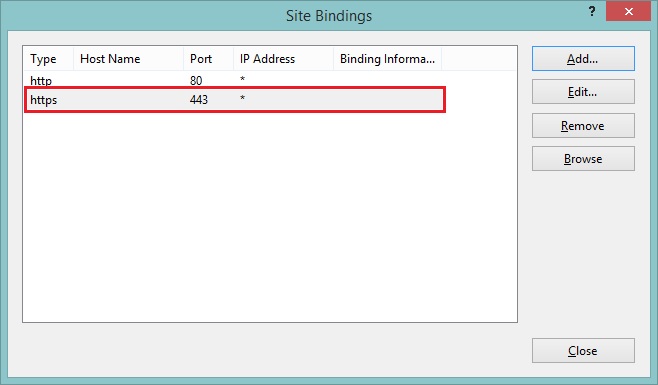
現在網站應可以通過安全的HTTPS連接訪問。