
一旦您激活、驗證並簽發了證書(簽發的證書將通過電子郵件發送到您在激活時提到的管理聯繫電子郵件中),您需要將其與CA捆綁一起安裝到伺服器上,並將證書分配給不同的服務,如郵件(IMAP、POP和SMTP)、文件共享(iOS)、消息和網站。
CA捆綁安裝
CA捆綁是一個包含根證書和中介證書的文件。它是提高與網頁瀏覽器及其他客戶端兼容性所必需的,以便瀏覽器能夠識別您的證書,且不會出現安全警告。
如果證書在沒有CA捆綁的情況下被導入到伺服器,則會顯示為“由未知授權簽署”:
![]()
注意:如果您之前已為相同類型的證書安裝了CA捆綁(例如這次安裝的是續期證書),則無需重新進行CA捆綁安裝的整個過程。
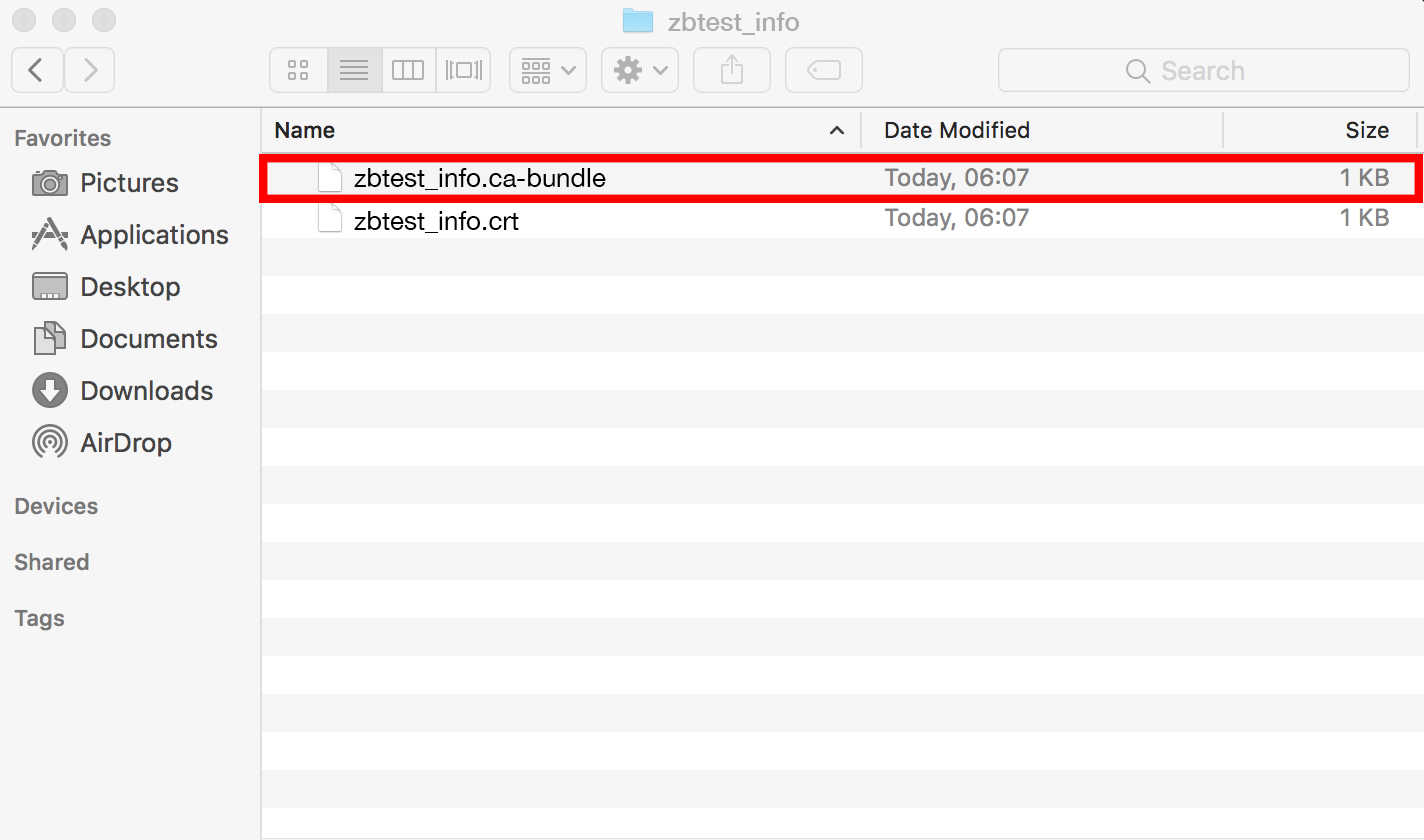
- 首先,您需要將收到的“CA捆綁”.ca-bundle文件添加到“鑰匙串”中,以使證書可以被信任並由證書頒發機構(在此情況下為Comodo CA)簽署。為此,請找到隨您的簽發證書收到的CA捆綁。相關文件具有.ca-bundle擴展名:
- 在您的Mac上找到'鑰匙串訪問':

- 打開'鑰匙串',然後將.ca-bundle文件拖放到出現的窗口中:
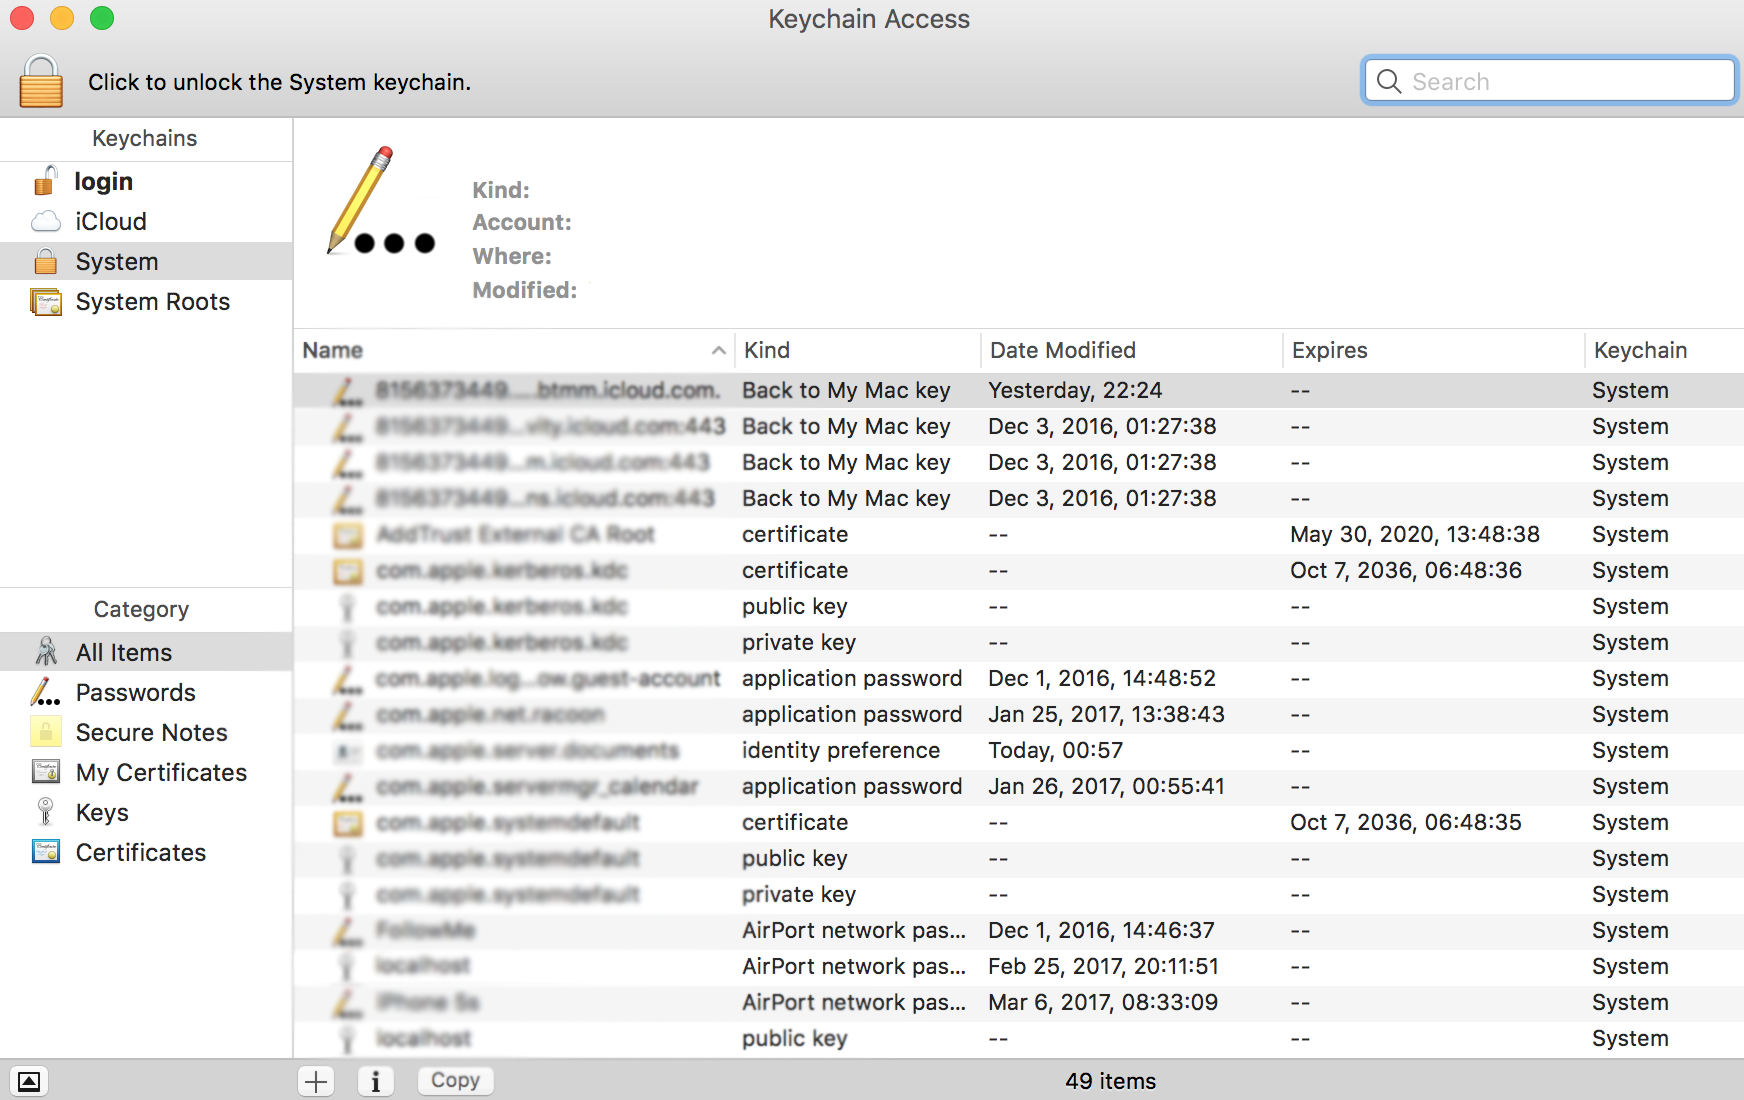
- 要檢查中介證書是否已添加,請在搜索欄中輸入“Comodo”:
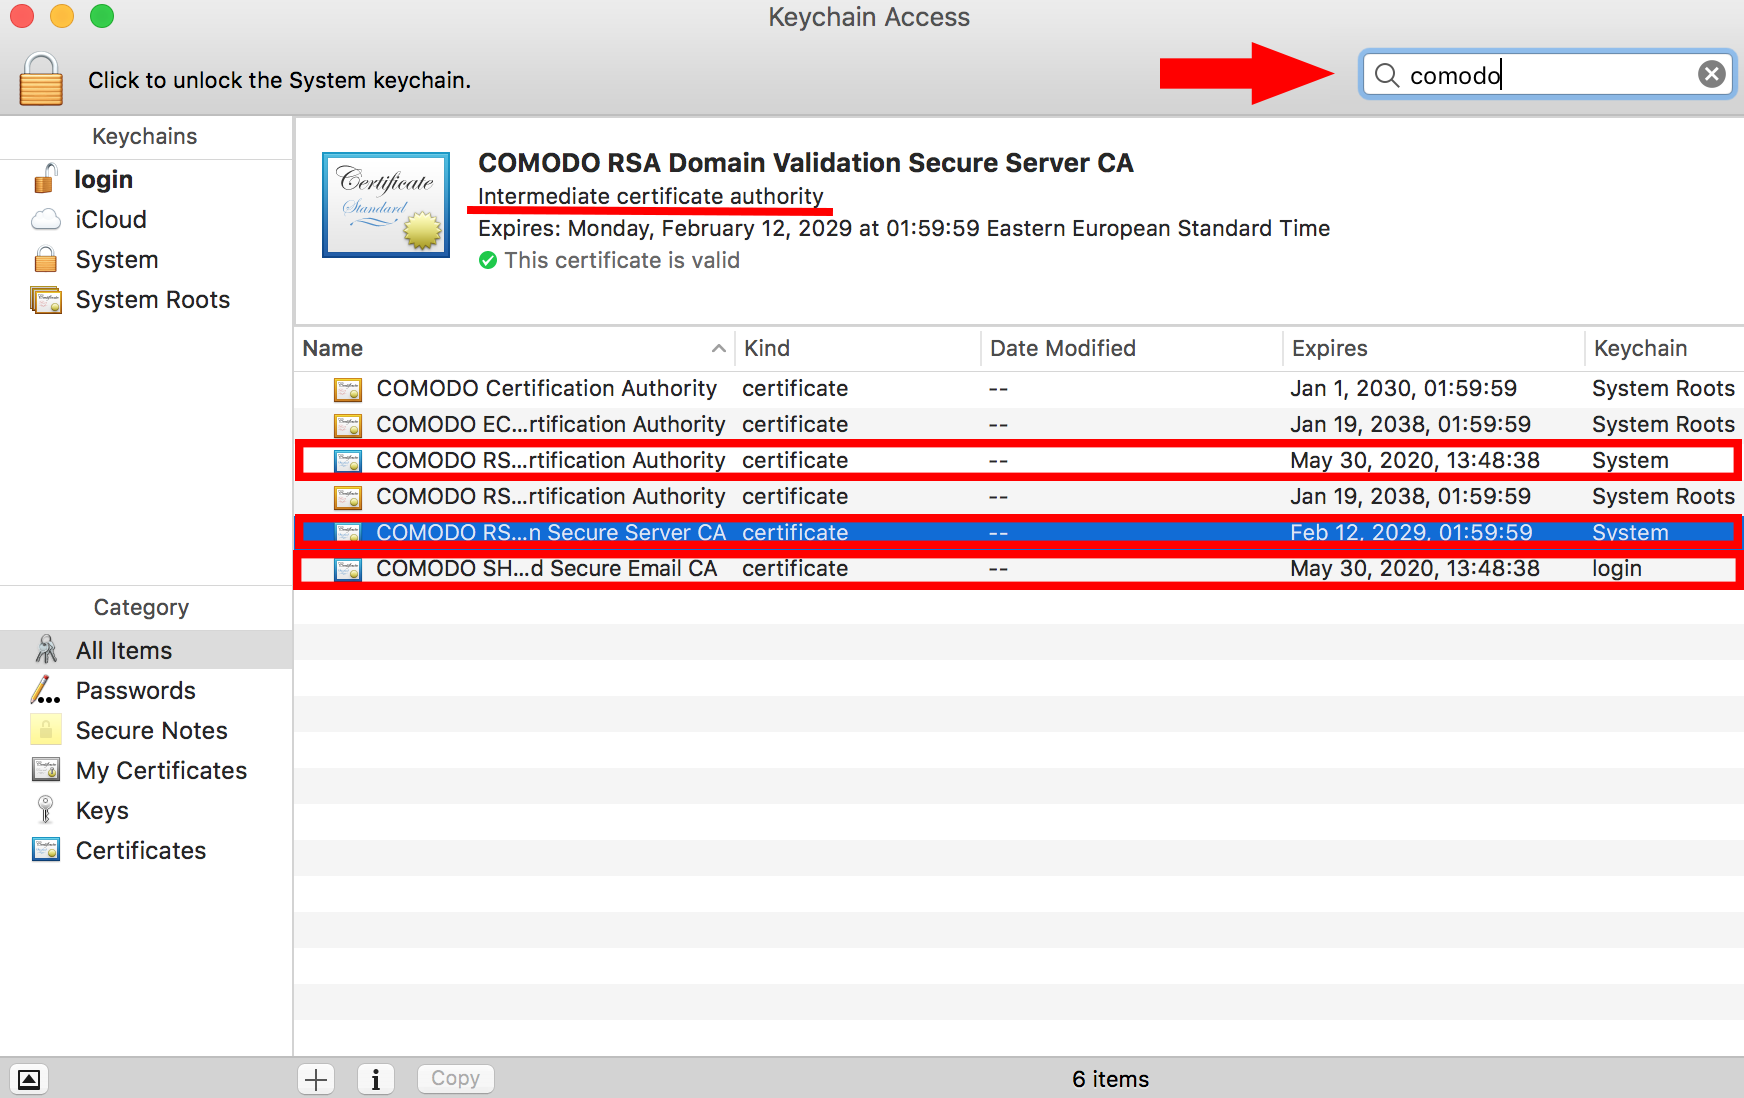
中介證書有藍色圖標,而根證書則有黃色圖標(根CA證書的圖標為黃色)。
一旦CA捆綁添加到系統的鑰匙串中,您就可以繼續進行證書安裝:
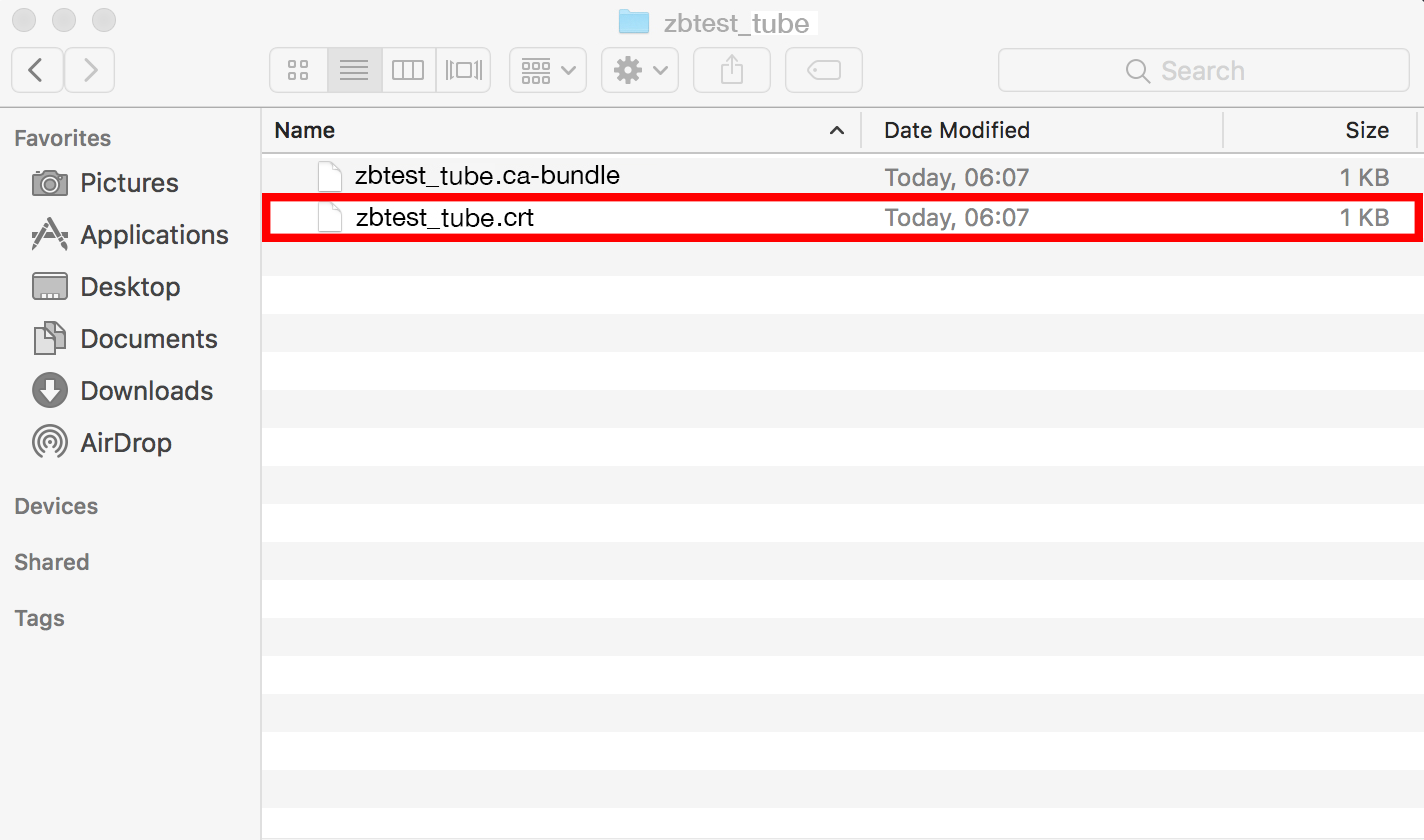
- 找到您從證書頒發機構收到或從帳戶中下載的.crt文件:
- 在'證書'部分下的'伺服器'中,找到您與CSR代碼一起創建的“待處理”證書:
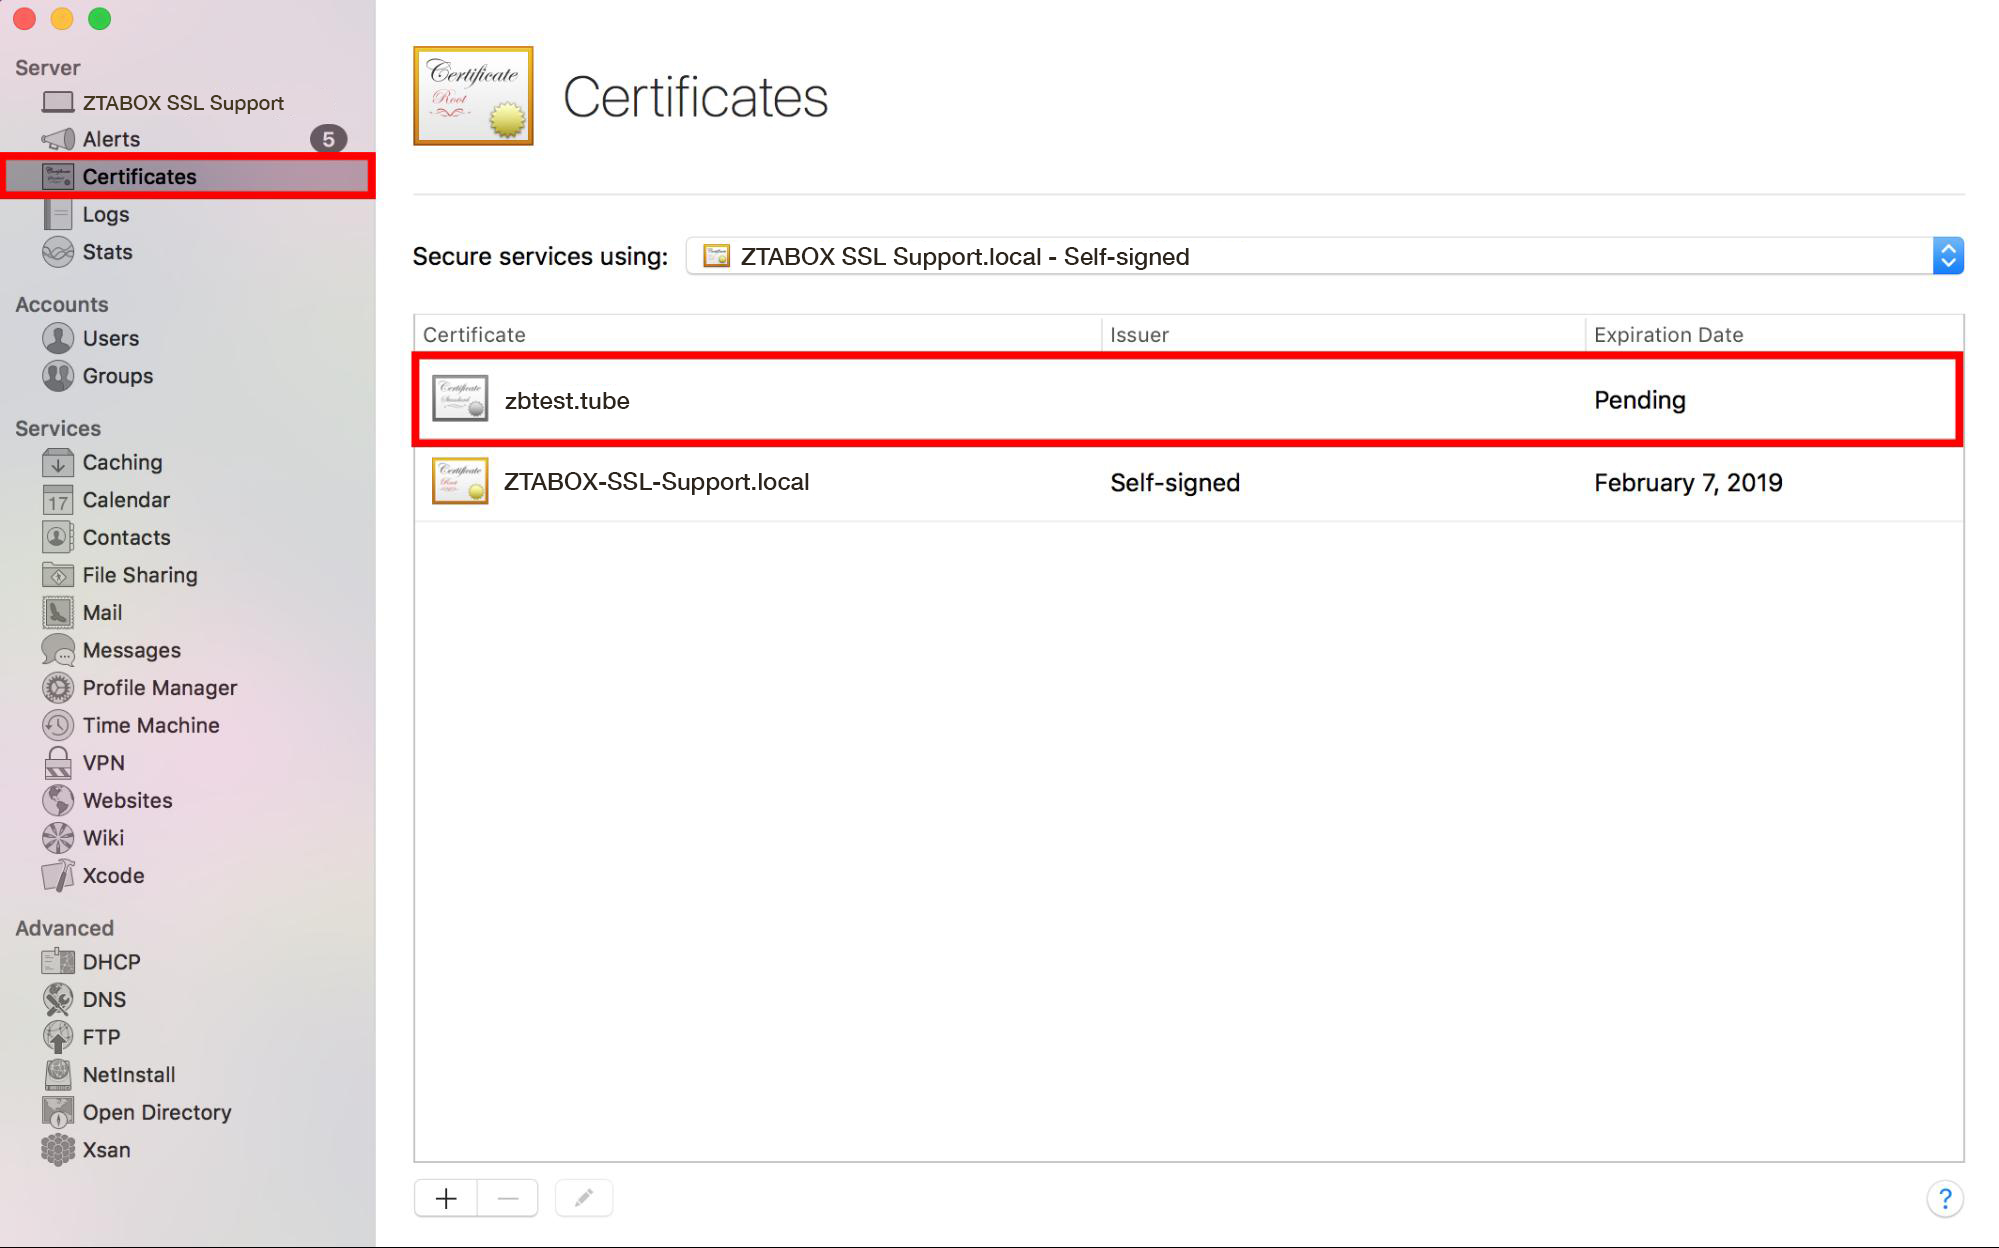
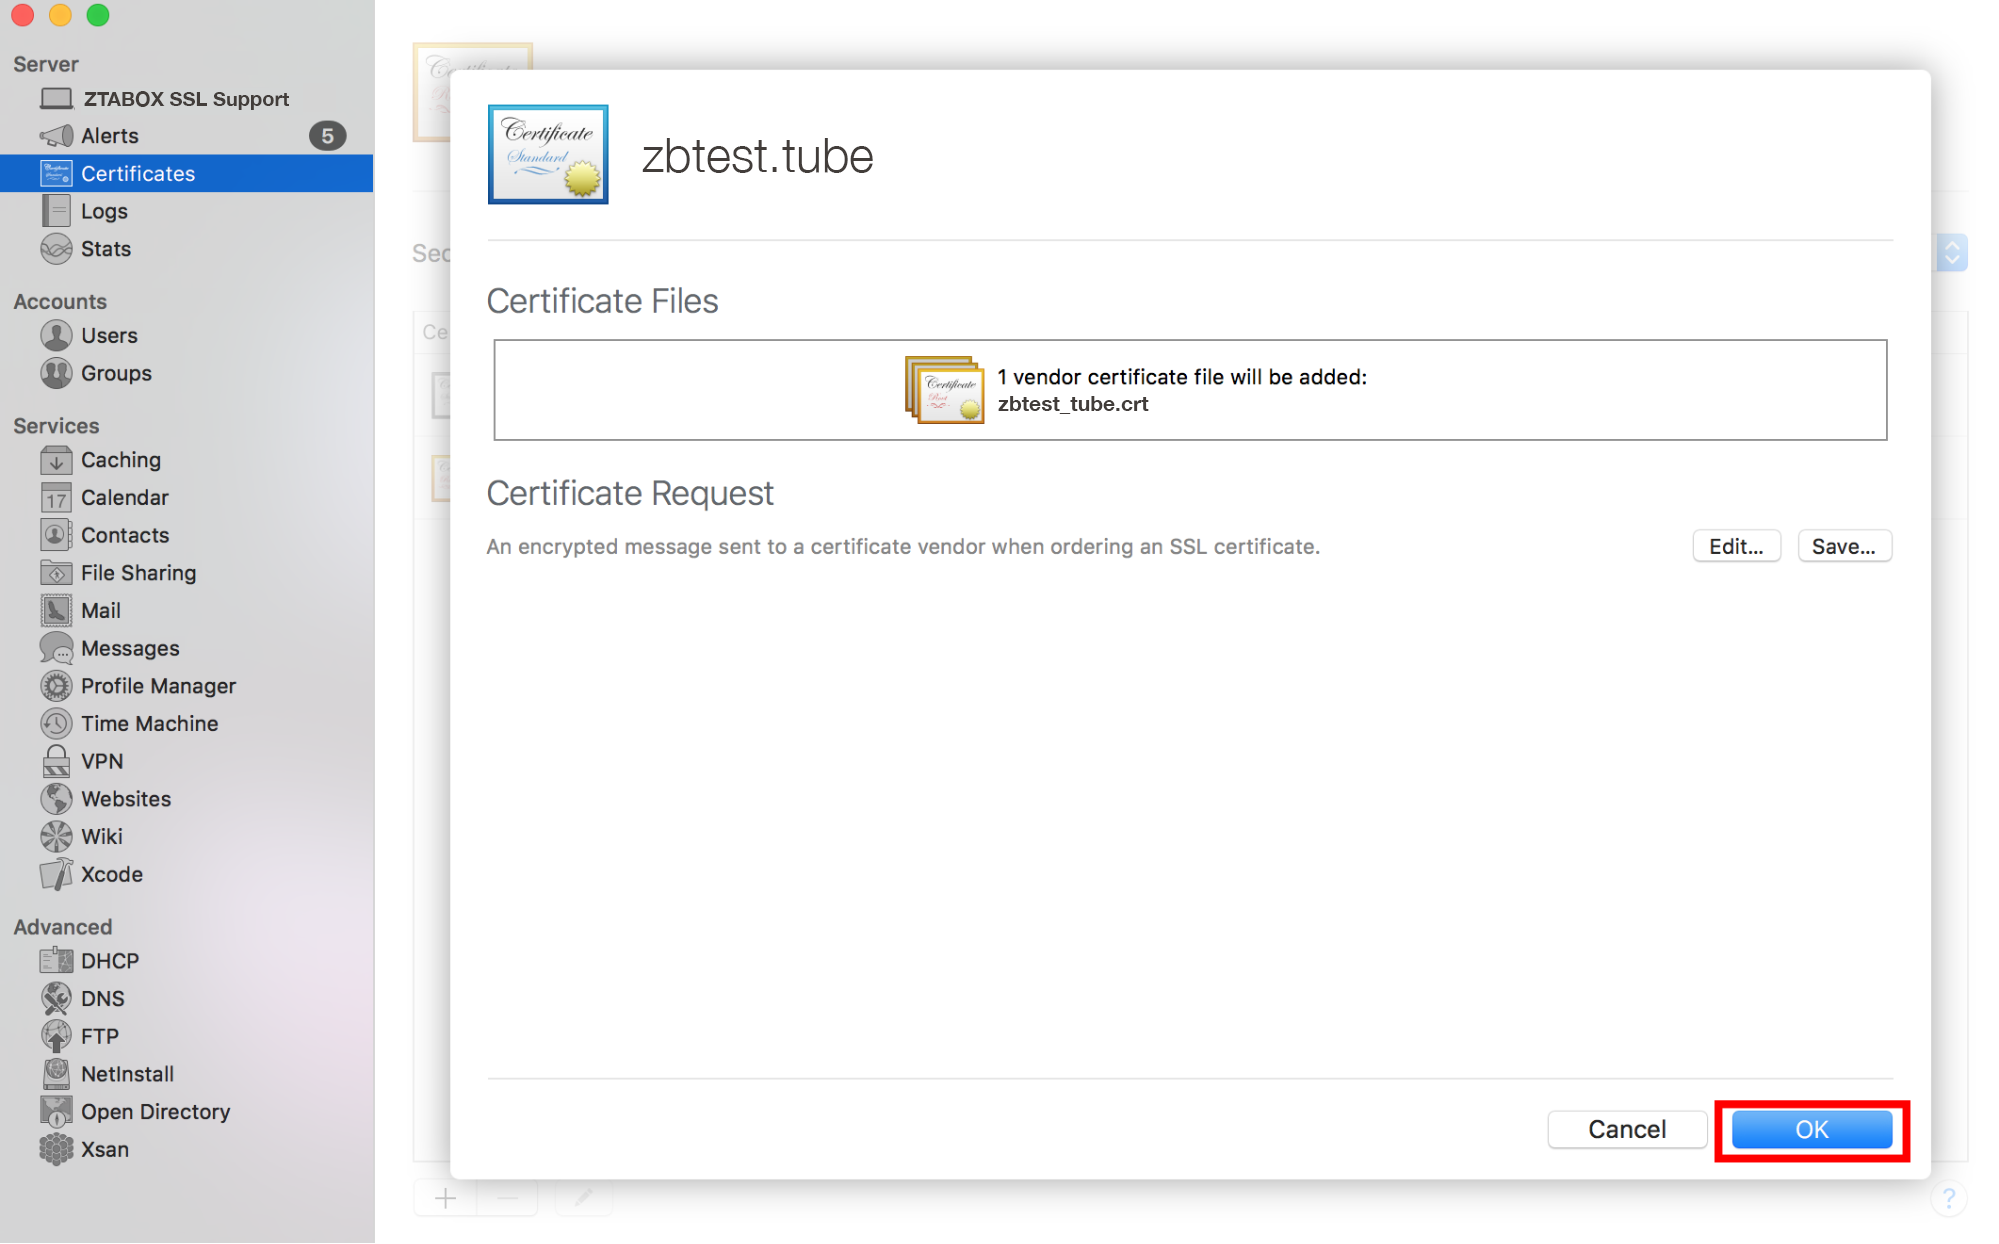
- 雙擊相關證書,以便您可以看到以下窗口:
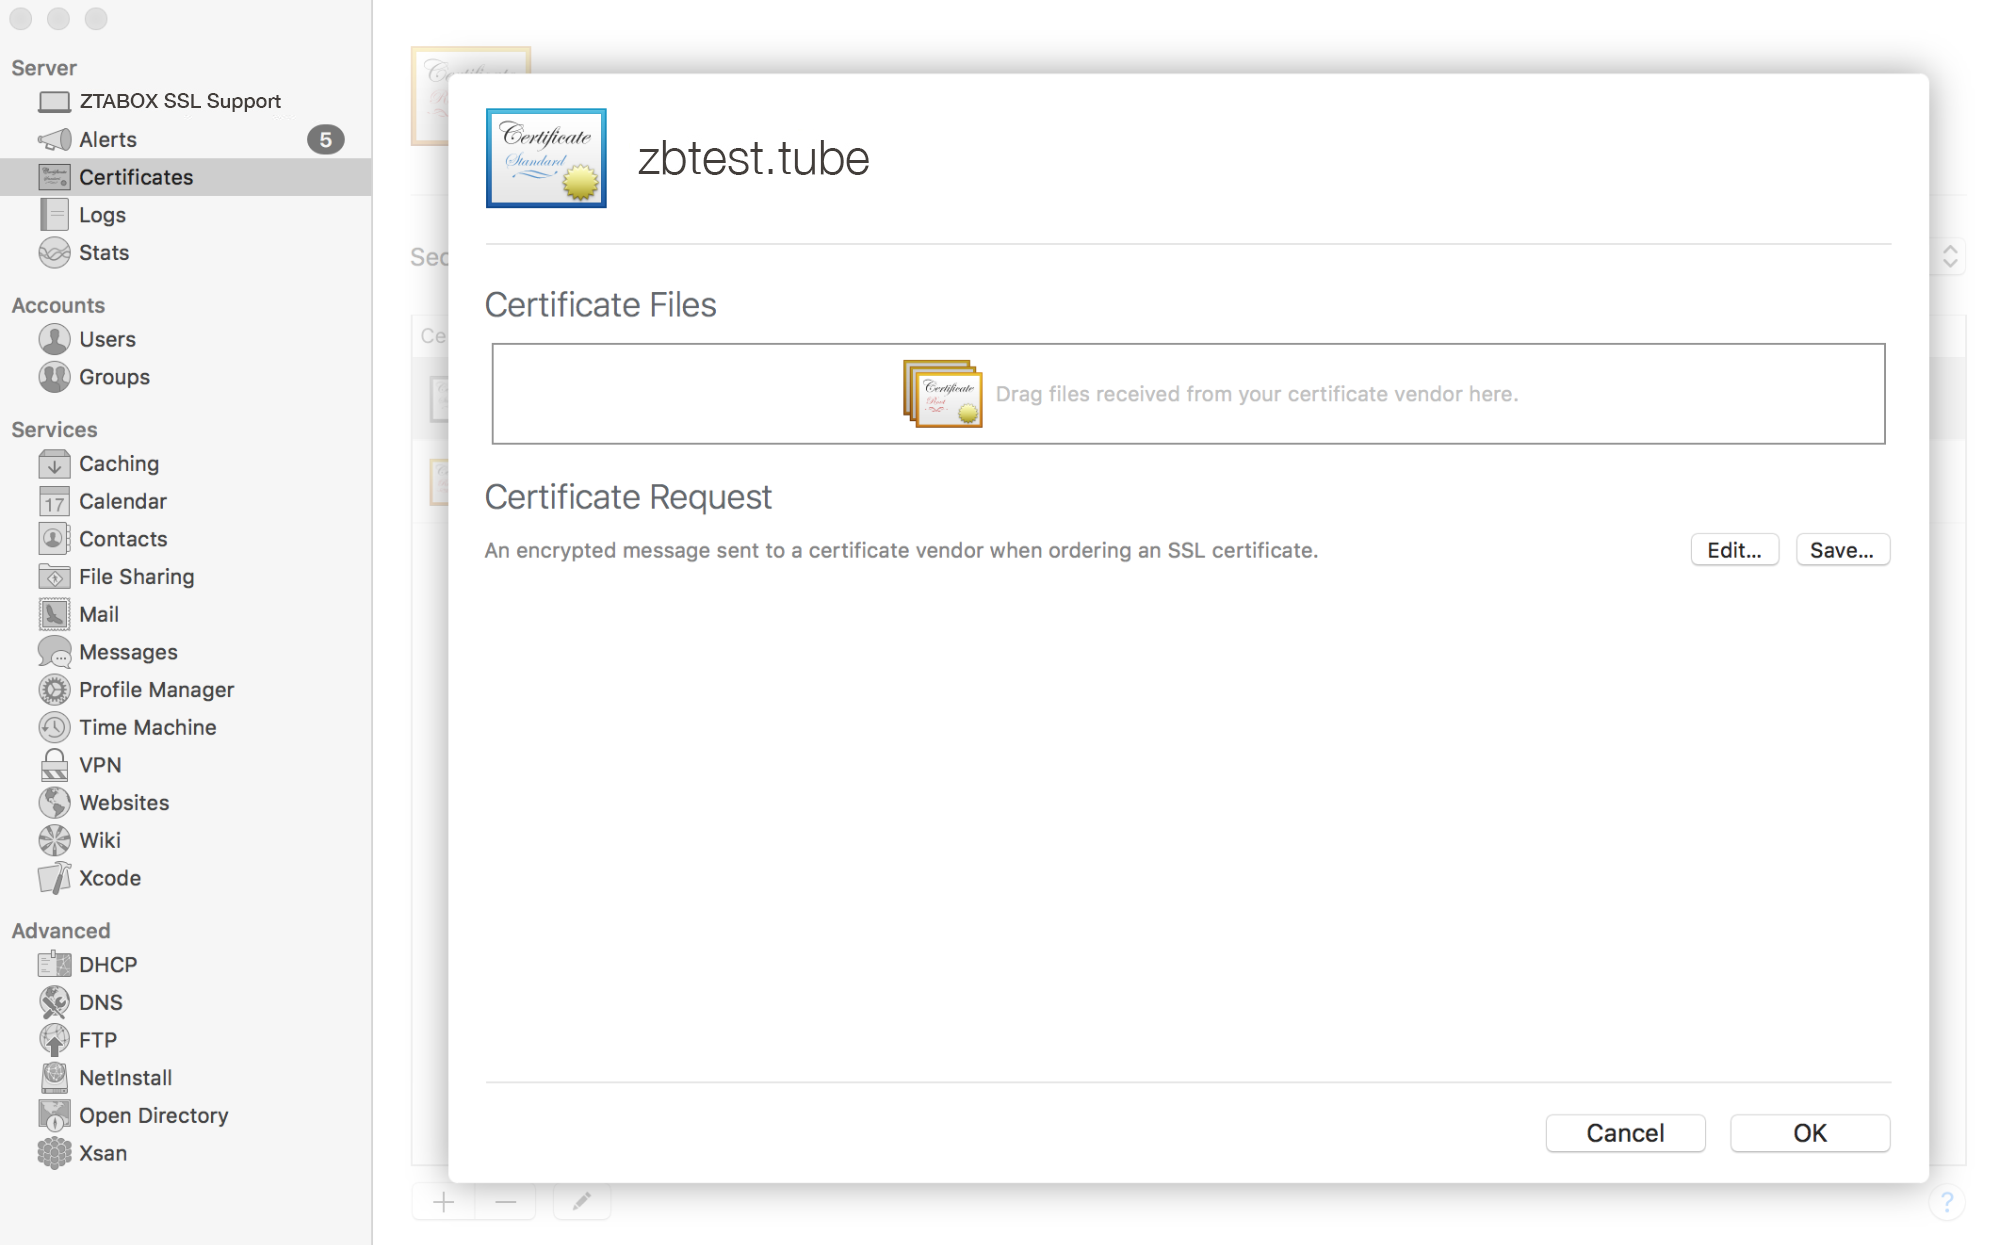
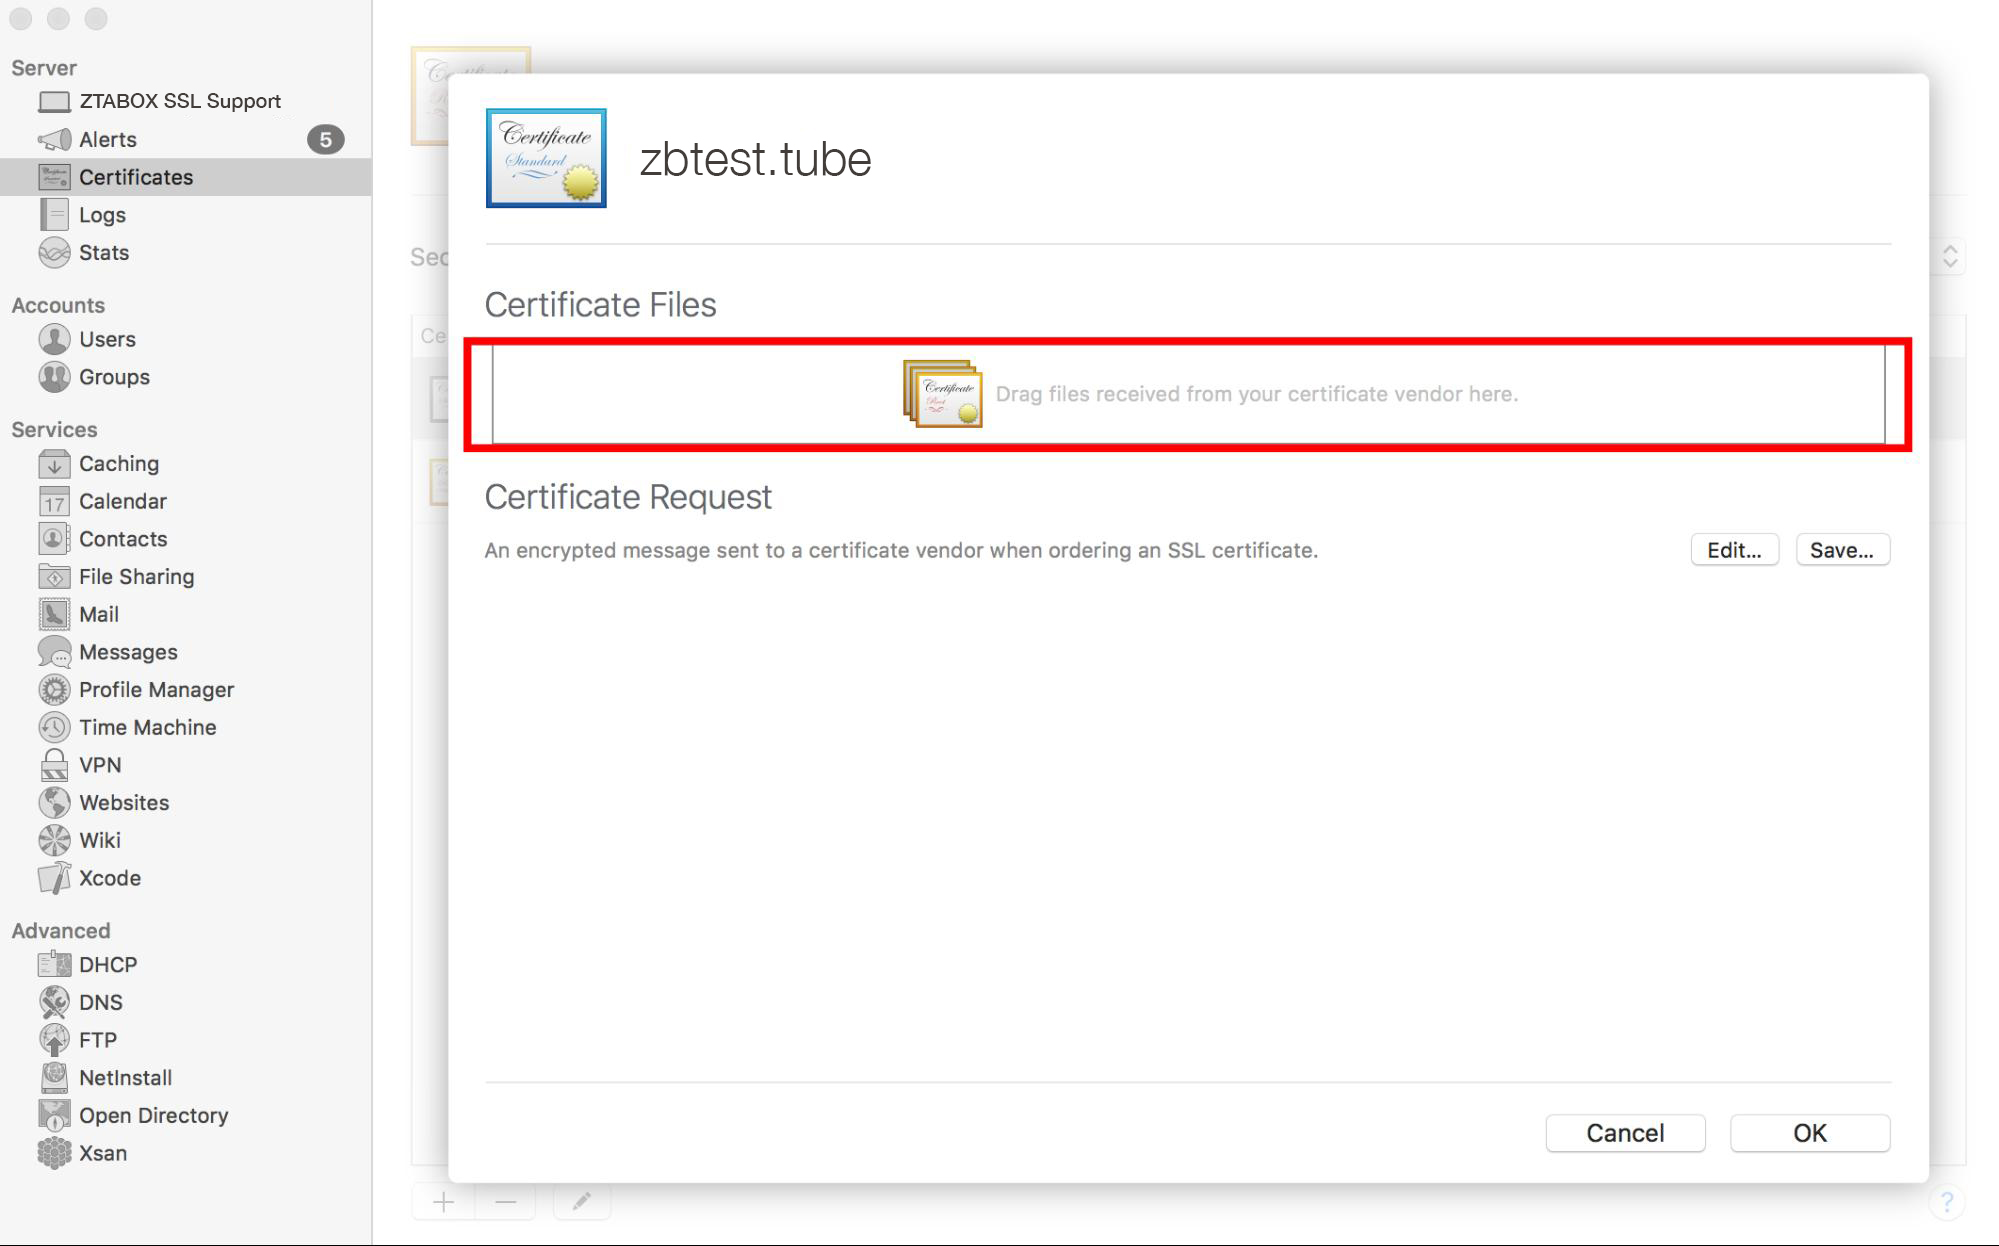
- 將'yourdomain_tld.crt'文件拖放到該框中:
完成後,證書應顯示在此字段中:
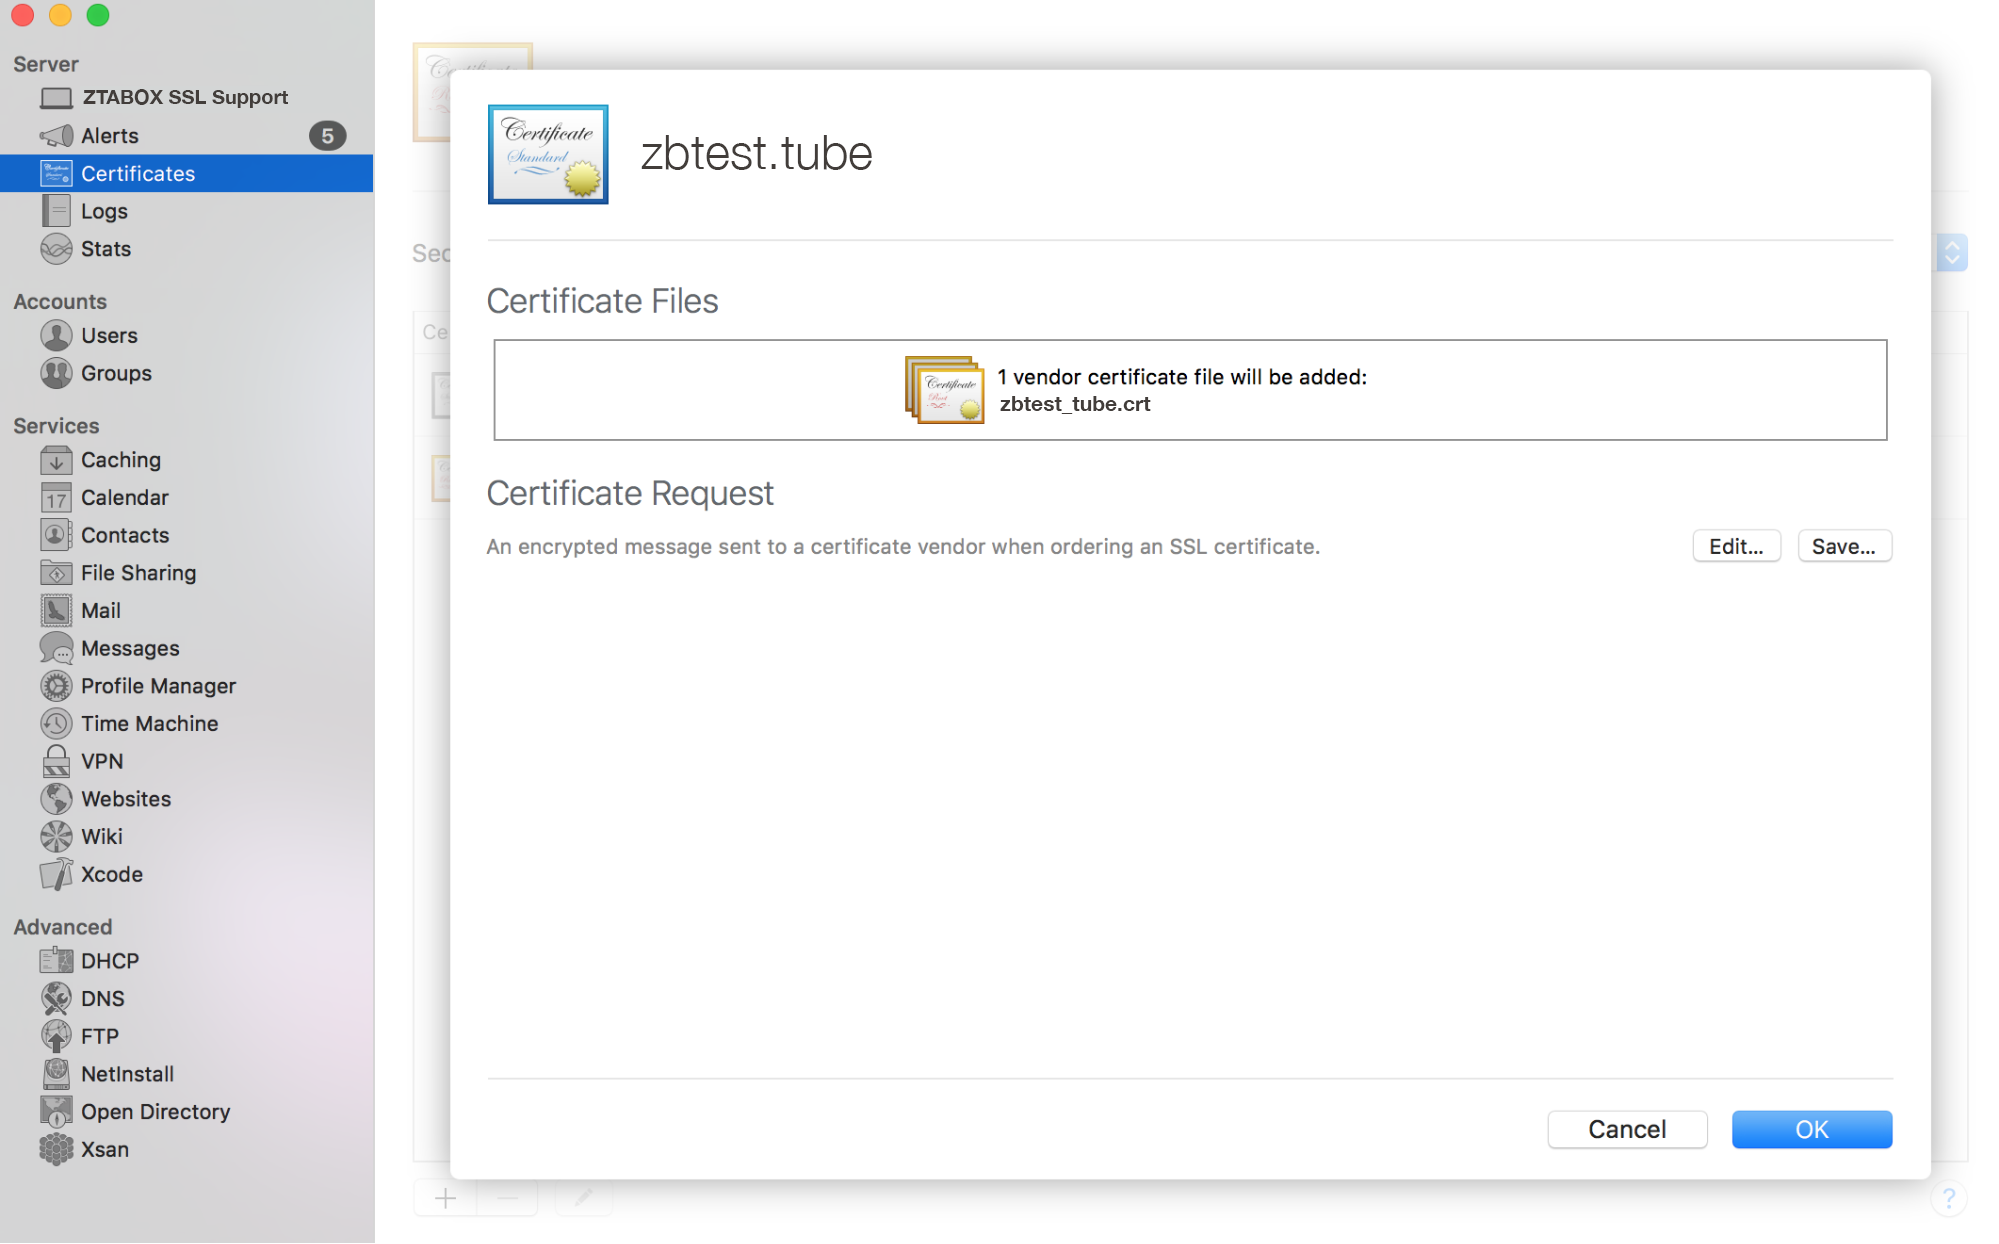
- 單擊'確定'以完成安裝過程:
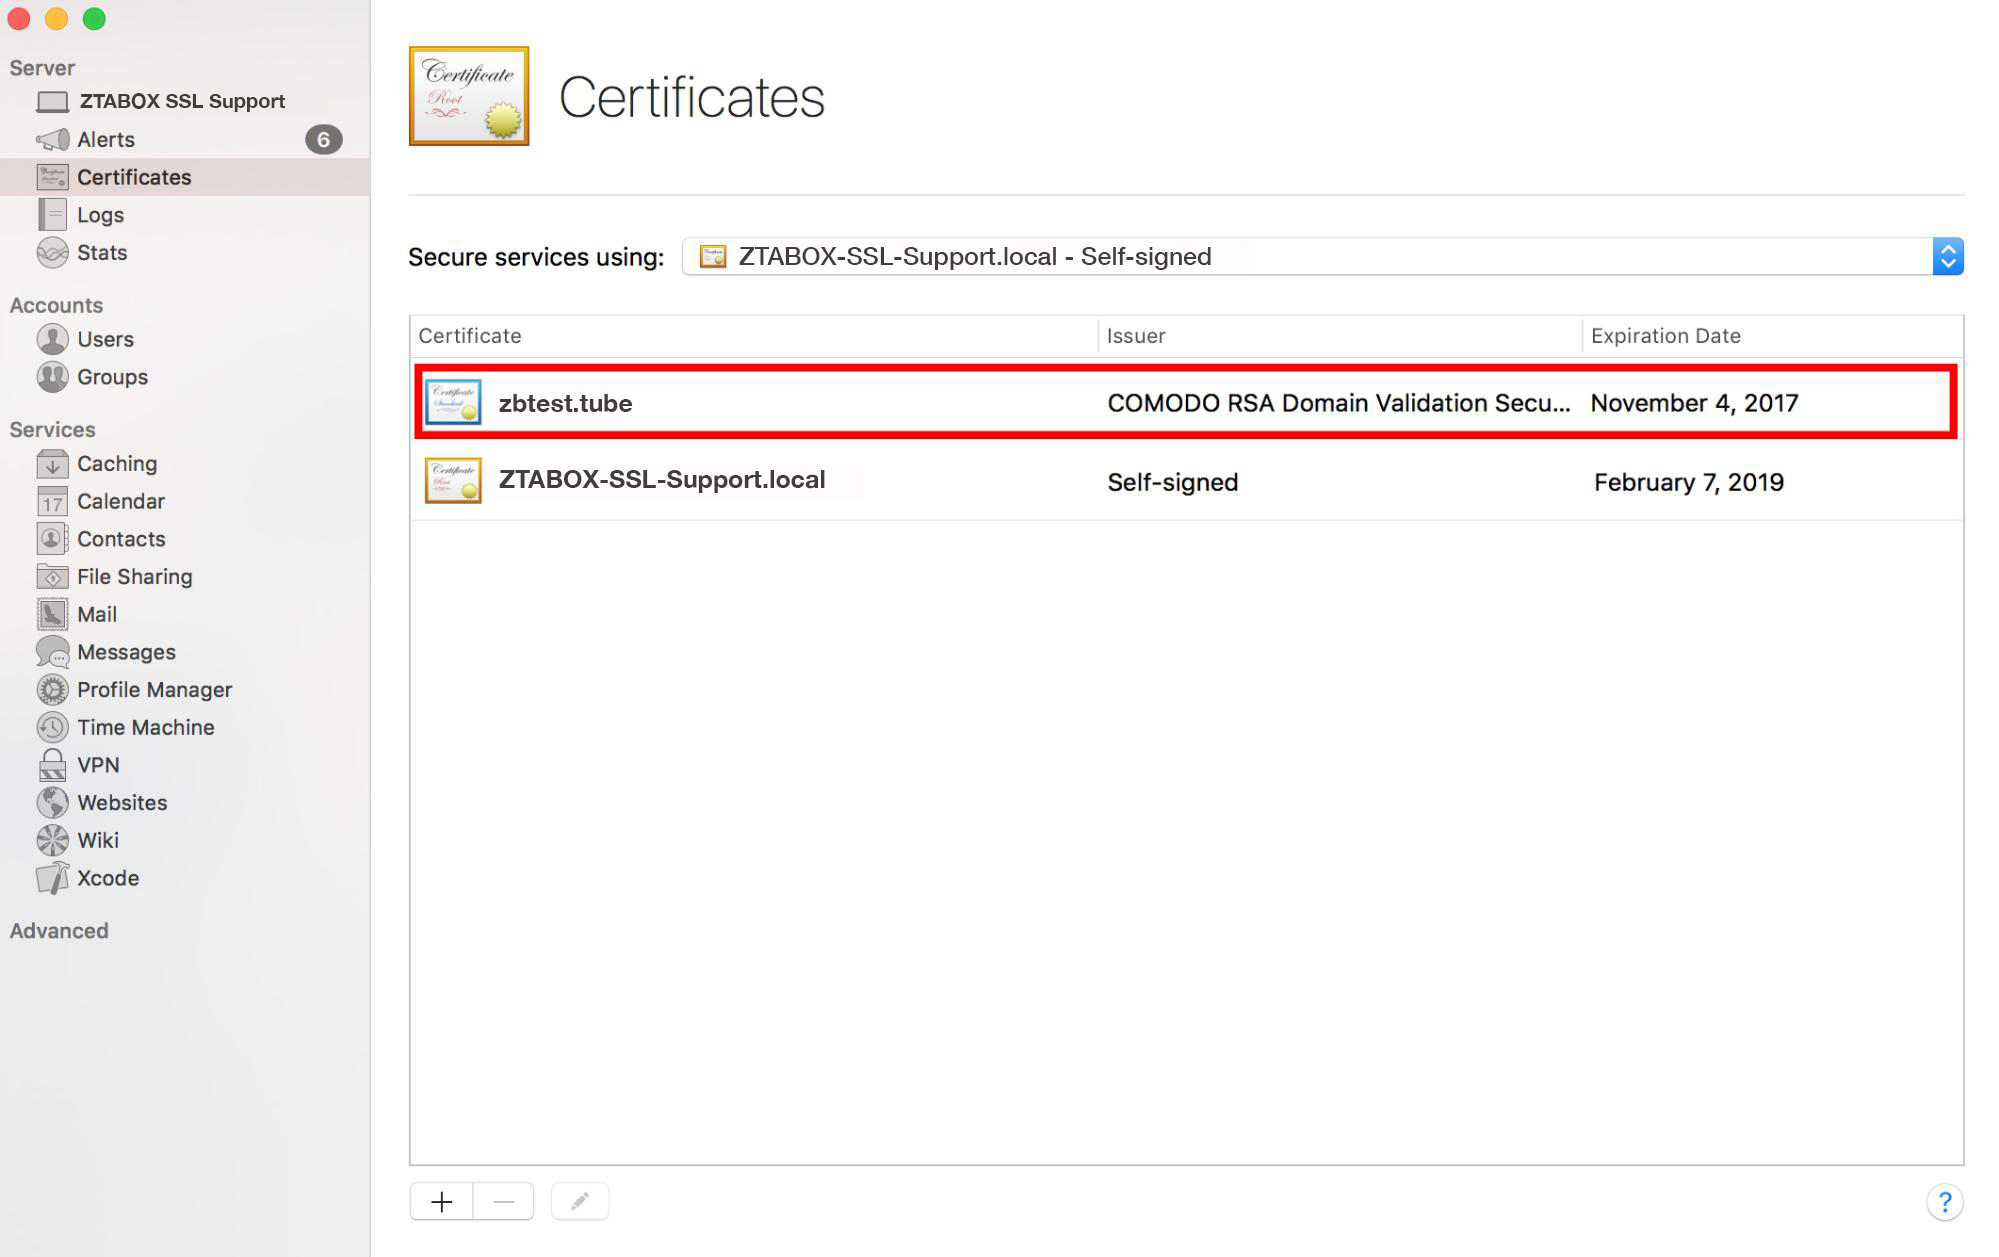
- 完成後,您的有效證書將出現在伺服器上安裝的證書列表中:
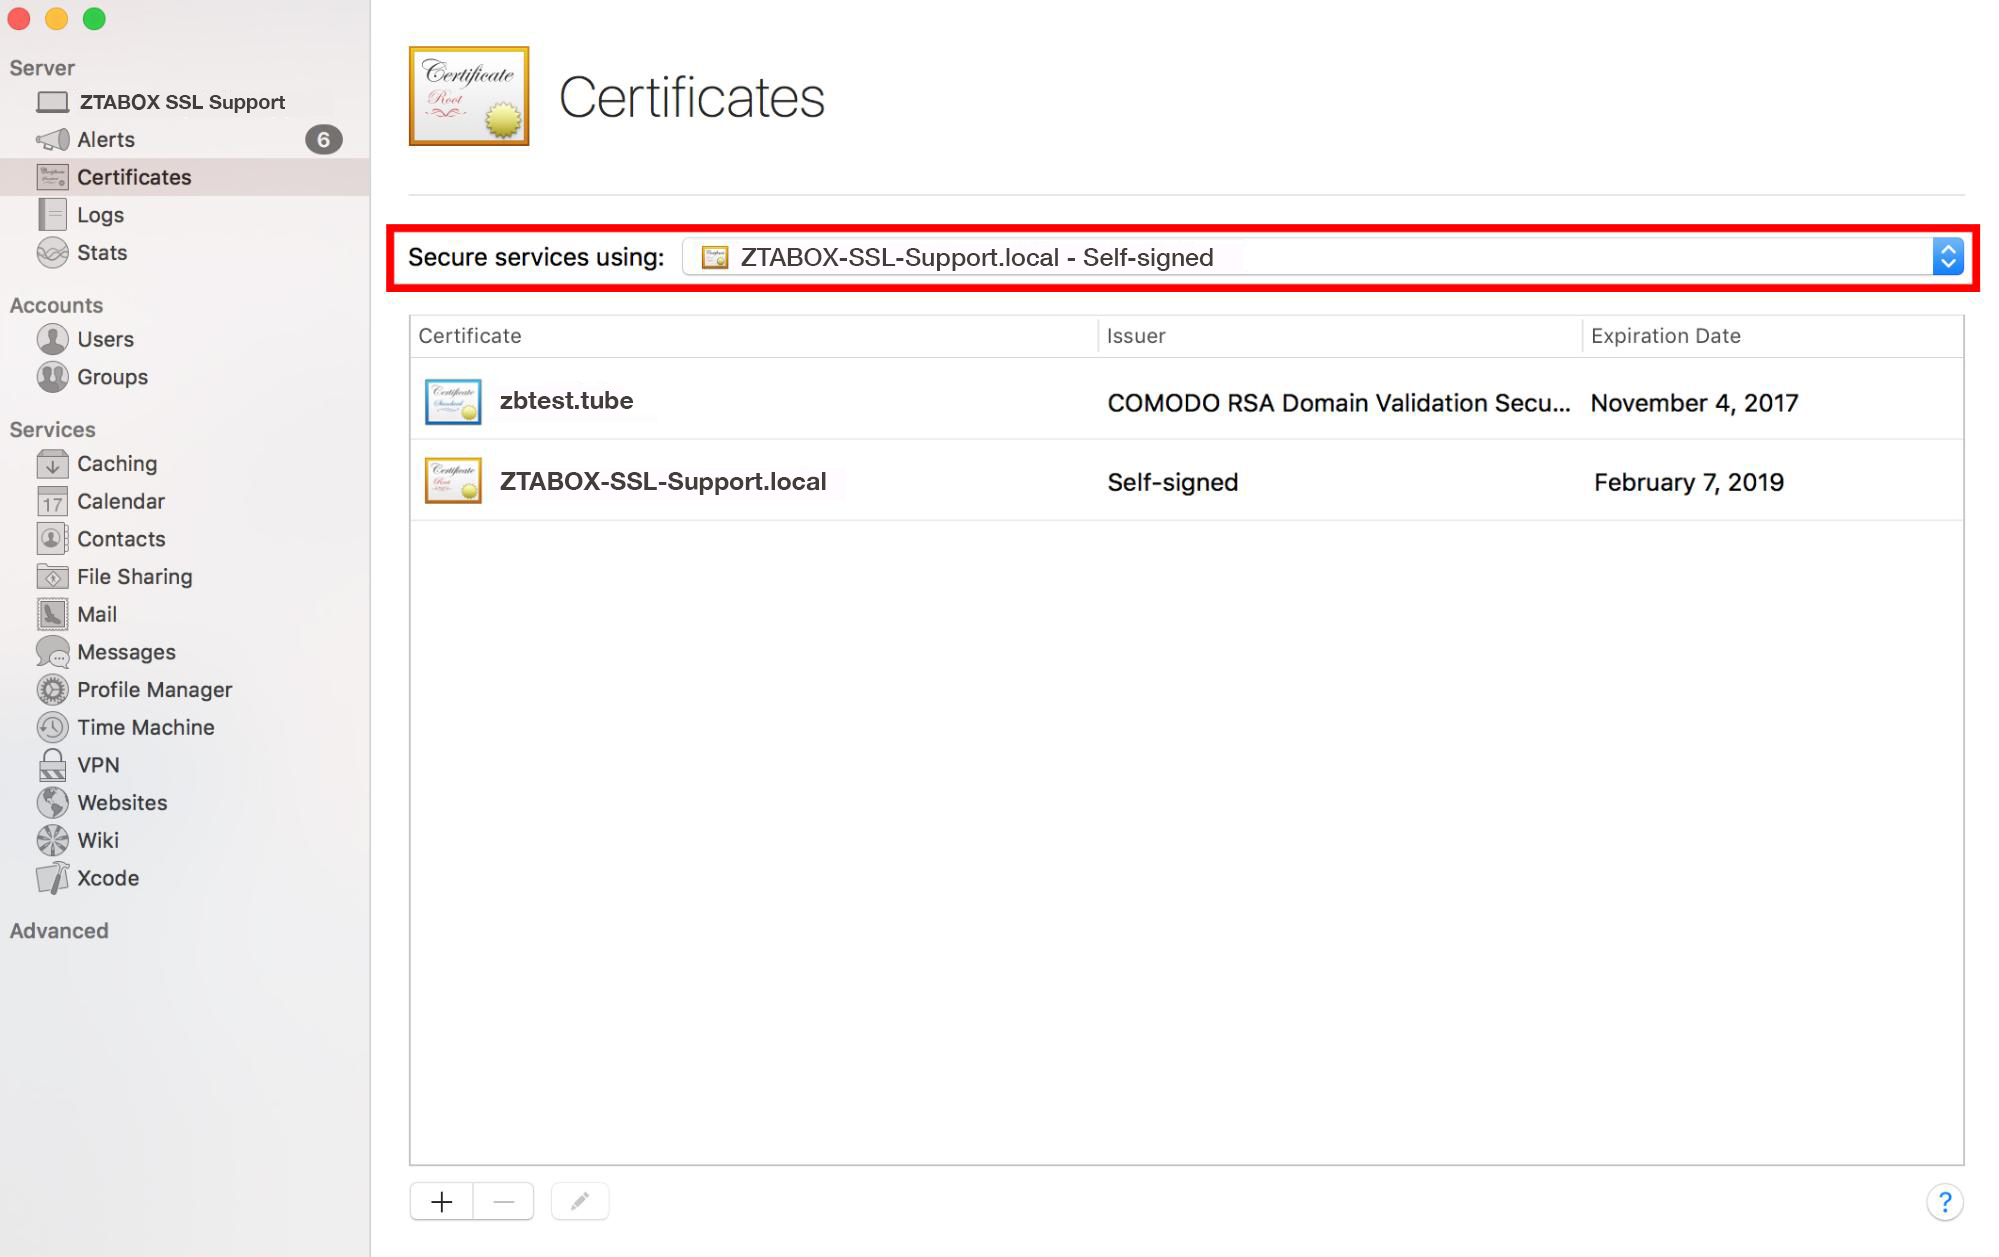
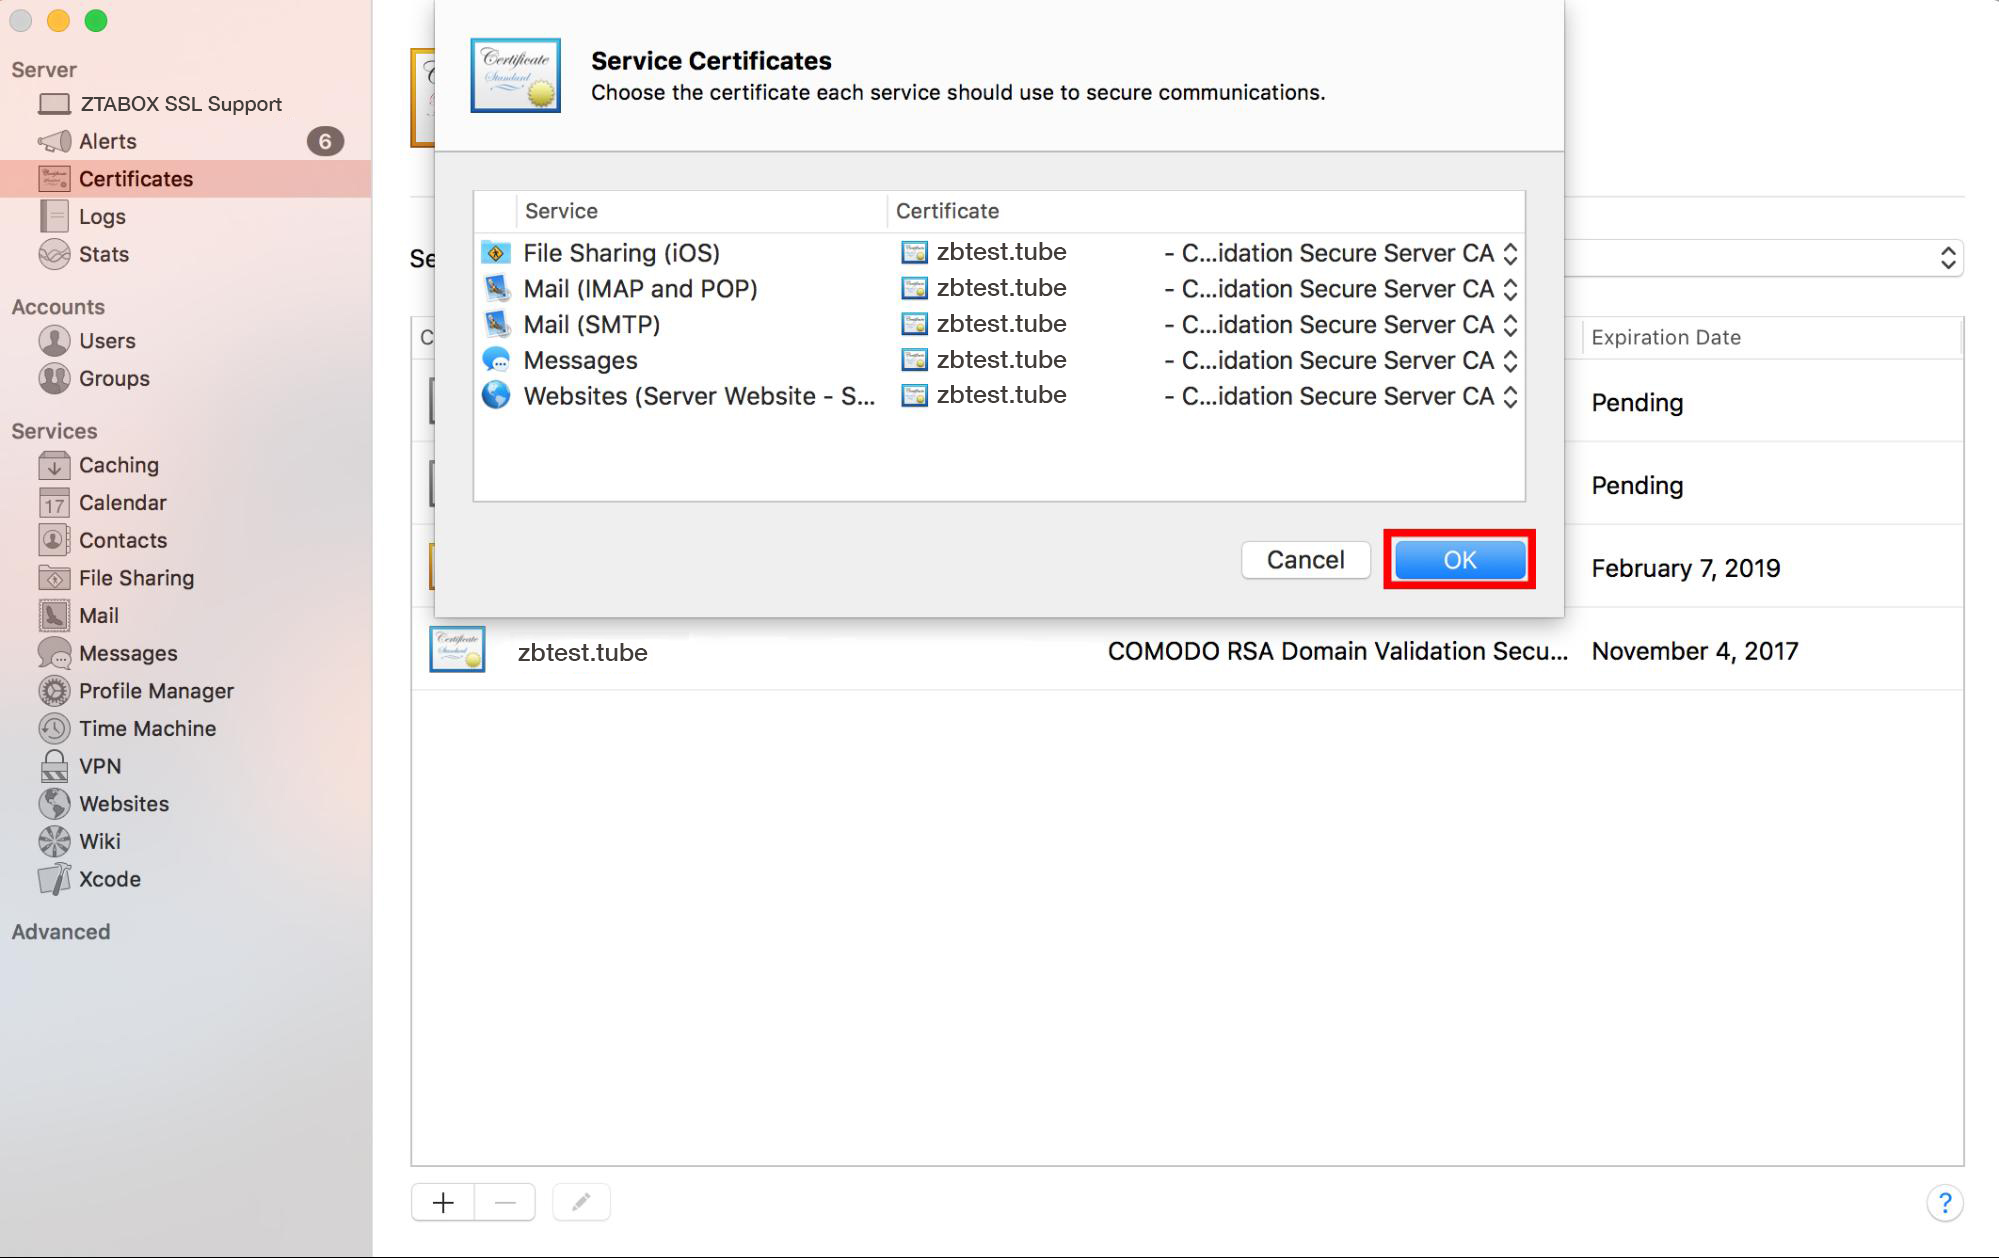
現在我們可以將證書分配給我們想要使用的服務:
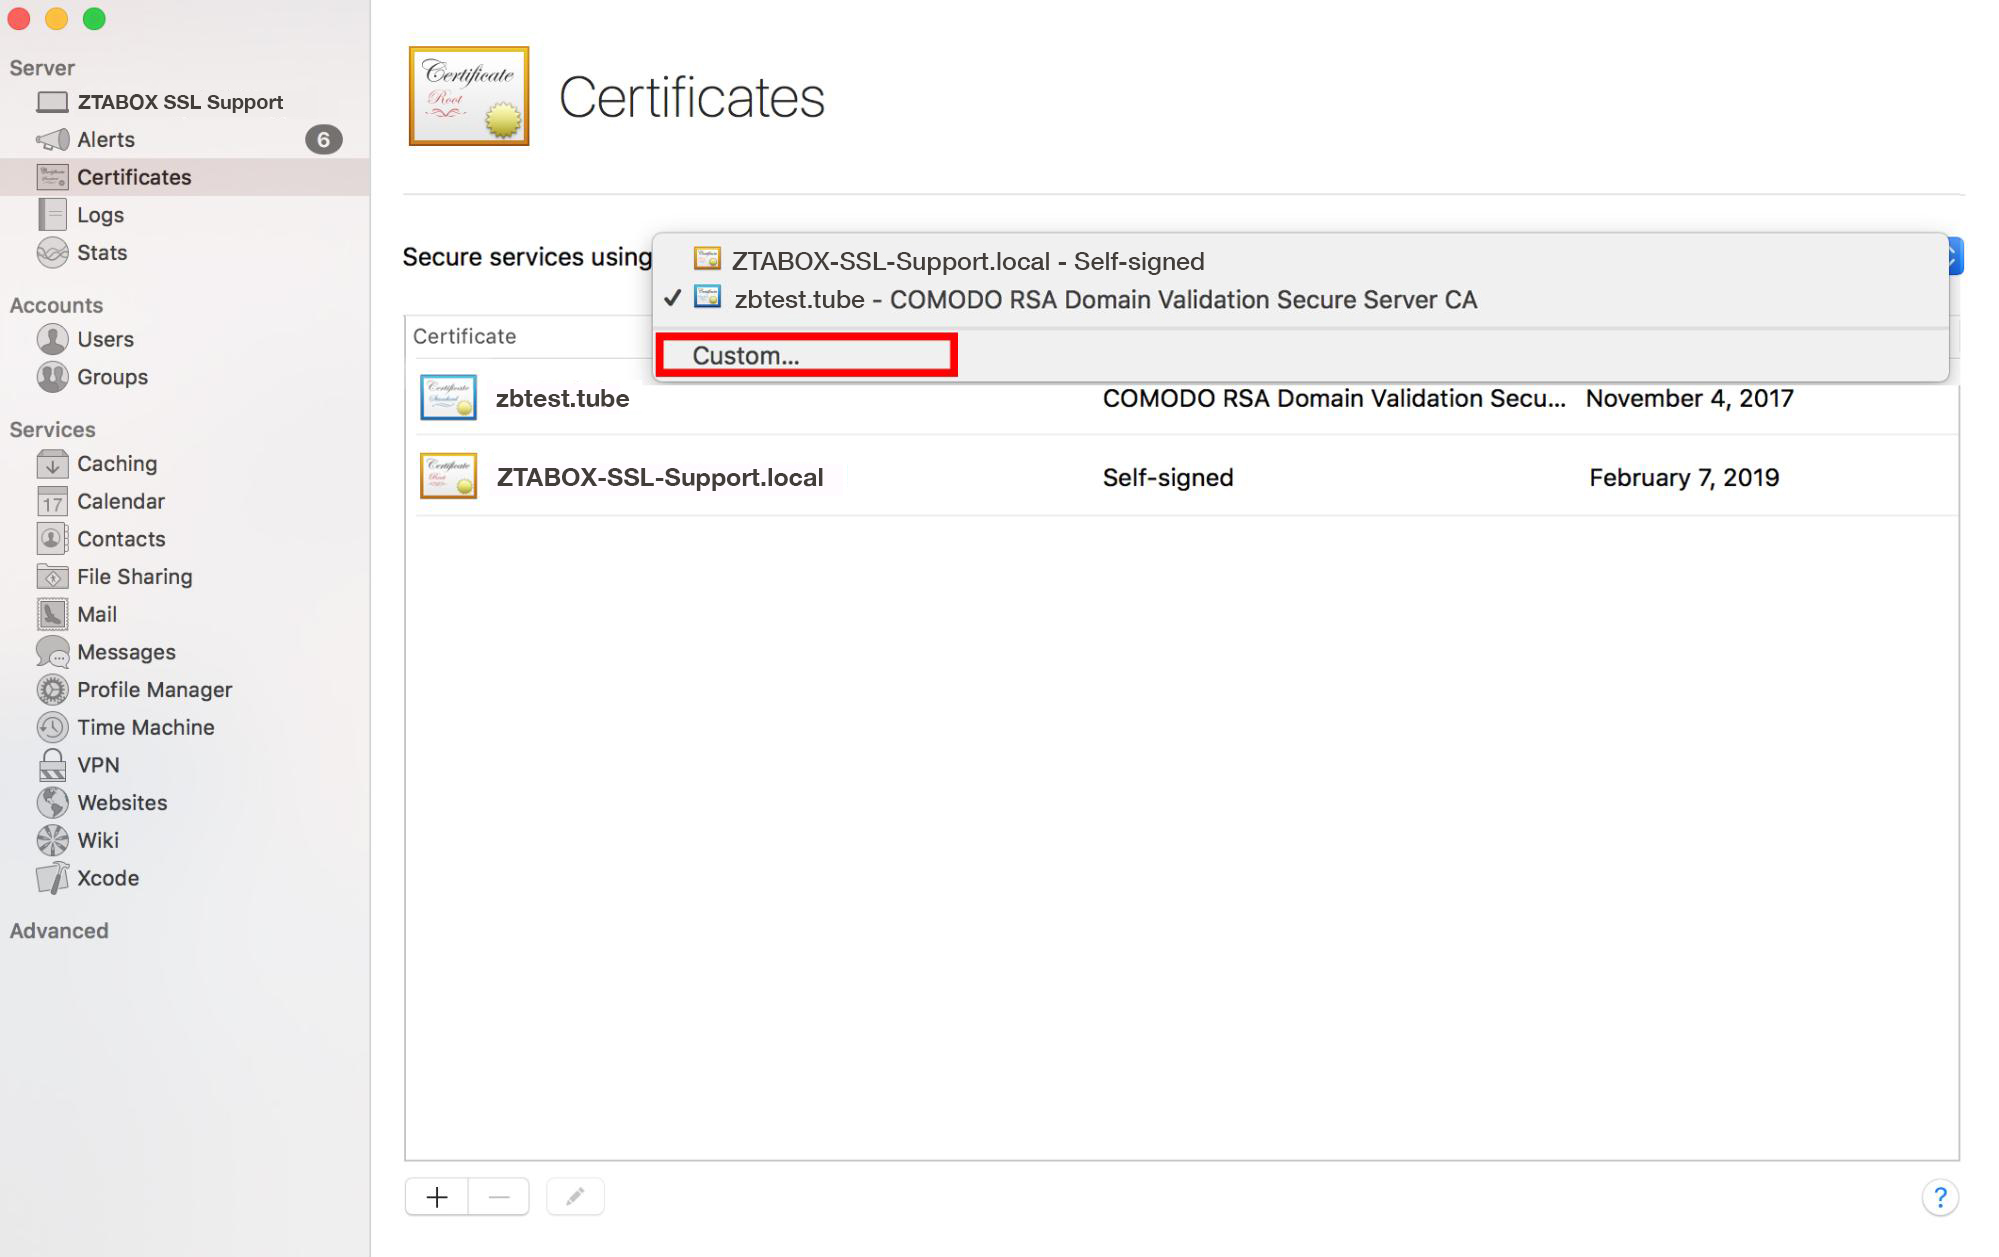
- 從'使用安全服務'列表中選擇您的證書:

如果您想將證書分配給自定義服務(如郵件服務、文件共享等),請單擊相應的按鈕:

- 單擊'確定'以應用更改:
- 現在證書已安裝在伺服器上。您可以隨時通過此工具檢查安裝情況。
如果在過程中遇到任何困難或需要任何幫助,請隨時聯繫我們的支持團隊。